


Finger Painting Rainbows
Even if it’s cloudy outside, there’s still a great way for your little ones to see a gorgeous rainbow. Whether they’re color experts or just learning the basics, this delightful craft is also a great way to give them a refresher of six of the most well-known rainbow colors. Best of all, it’ll make a gorgeous craft to hang on the fridge and brighten your day!
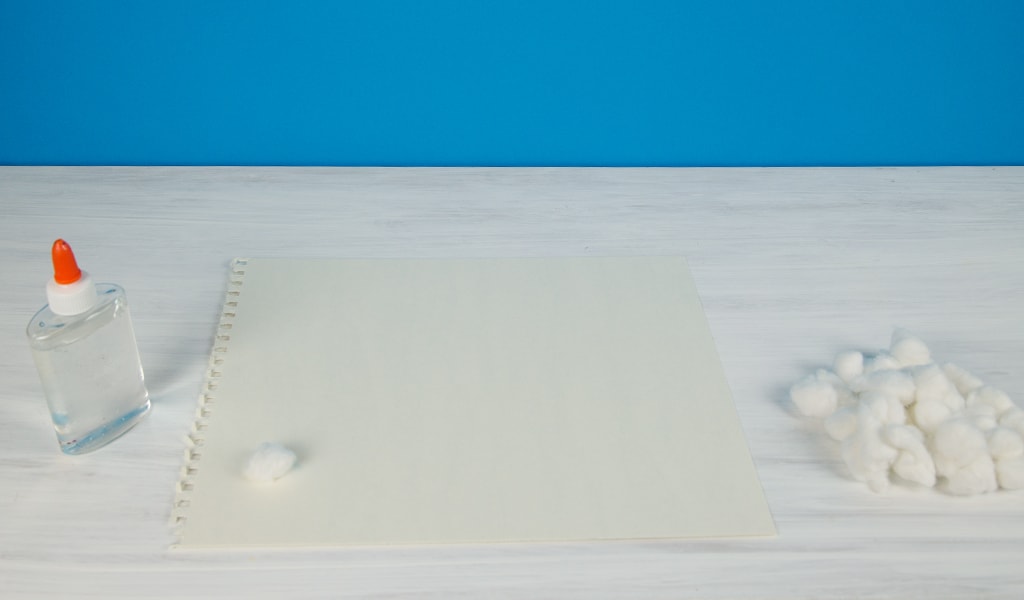
Materials:
- Construction paper
- Cotton balls
- Glue
- Paint in red, green, blue, orange, yellow and violet
Step 1:
Gather your materials.

Step 2:
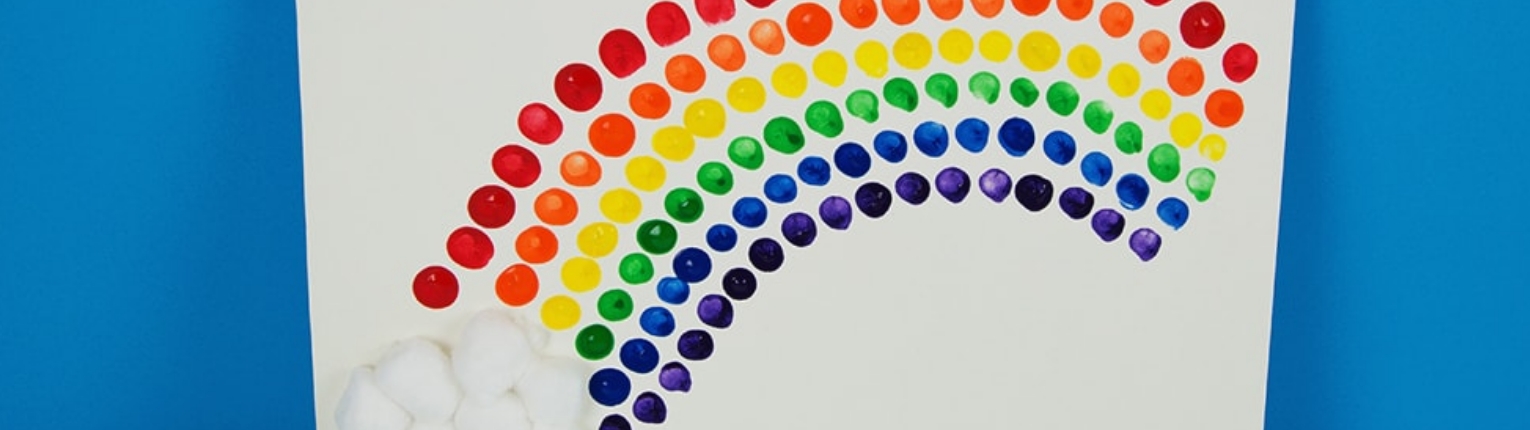
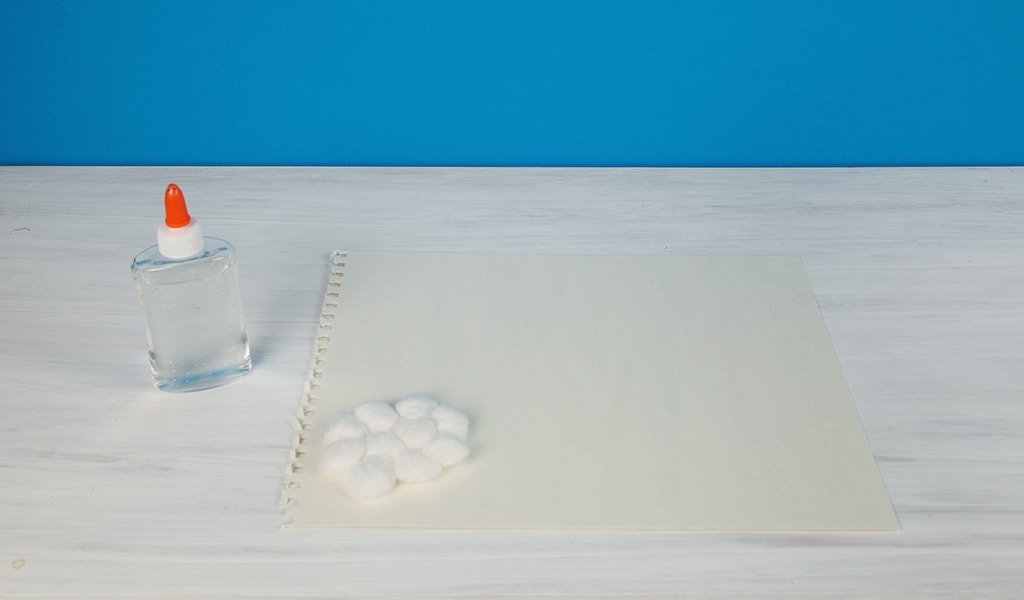
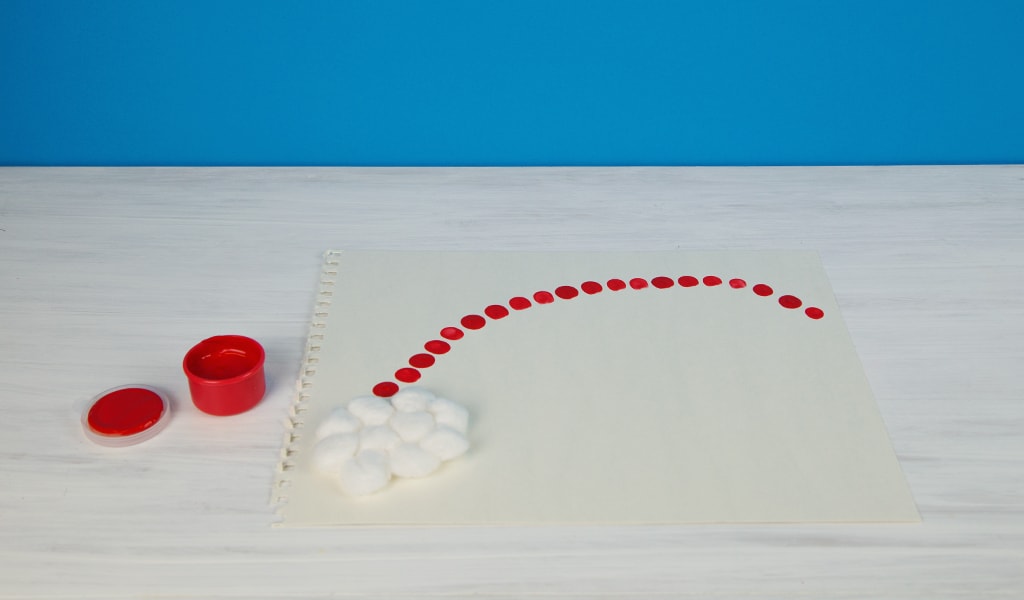
Lay down your construction paper horizontally and glue a cotton ball to the bottom left corner. This will be the origin of your rainbow, so make sure you leave plenty of room for it to spread!
Step 3:
Glue down more cotton balls in a circle around your first one to make a big, fluffy cloud.
Step 4:
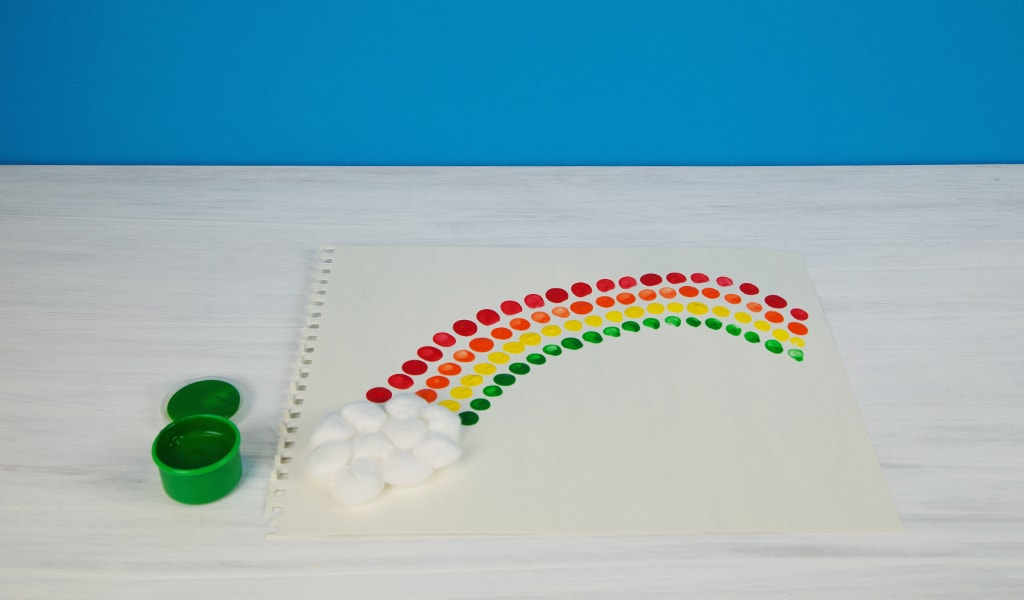
Now it’s time for your first color! Just like a real rainbow, we’ll start with red. Lightly trace a gentle arch coming from your cloud to the top right corner of the page. Then, get your little one to dip a finger into red paint and make a series of dots following your line.
Step 5:
Now it’s time to repeat the process you did in step 4 for the rest of the colors. First, you’ll do orange followed by yellow, green, blue and then violet at the bottom. This is a great time to review the colors you’ve painted with your kids and make sure they’ve got them memorized!
Step 6:
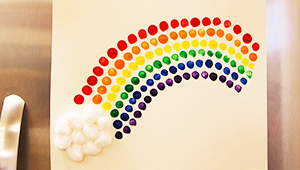
Now that your rainbow is finished, hang it up in a place where everyone can see your little one’s great work!
