


Tissue Paper Kite
Are you and your kids looking for a way to shake off the winter blues? Look no further than this bright and colorful springtime craft. Here’s how you do it:
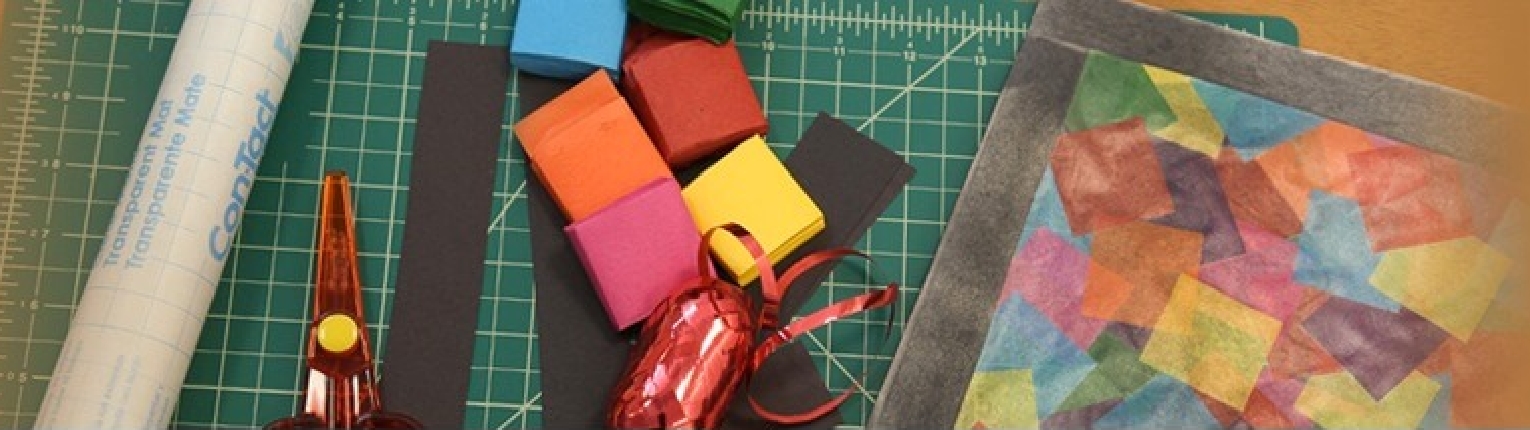
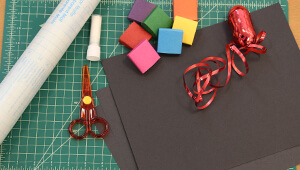
1. Gather your materials. You’ll need a few sheets of construction paper, tissue paper of various colors cut into squares, a roll of clear contact paper, a glue stick, safety scissors safe for kids and some ribbon or yarn.

2. Cut the construction paper into strips.

3. Cut a large sheet from the contact paper (at least as big as you want your kite to be). Lay it down sticky side up and place the four strips of construction paper down in a diamond shape. This will be the border of your kite.
 4. Place the tissue paper squares within the diamond. Fill it all the way up for full effect. Get creative with the color scheme!
 5. Once the diamond is filled, cut a second sheet of contact paper. Place it sticky side down on top of the diamond so the two sides of the contact paper meet. Smooth it out with your hands.
 6. Use safety scissors to cut off the excess contact paper around the border of the diamond. Once you have your kite, cut a strip of ribbon or yarn and tape it on the bottom point.
 7. Hang the finished kite up against a window or on the wall. We hung it up among the decals in our children’s room for a burst of color!
