American Flag Activity

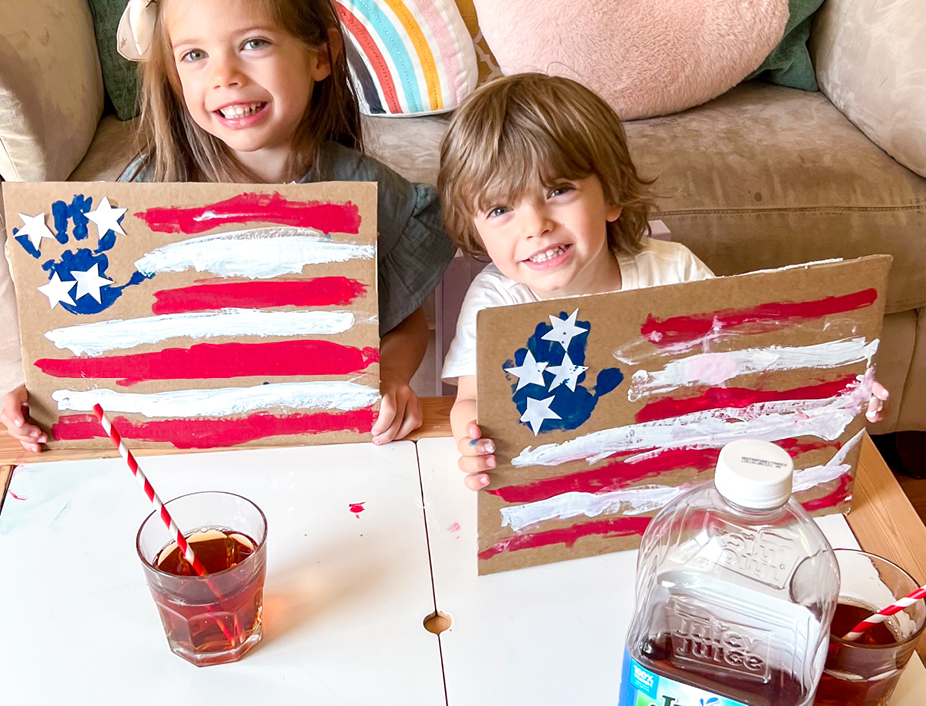
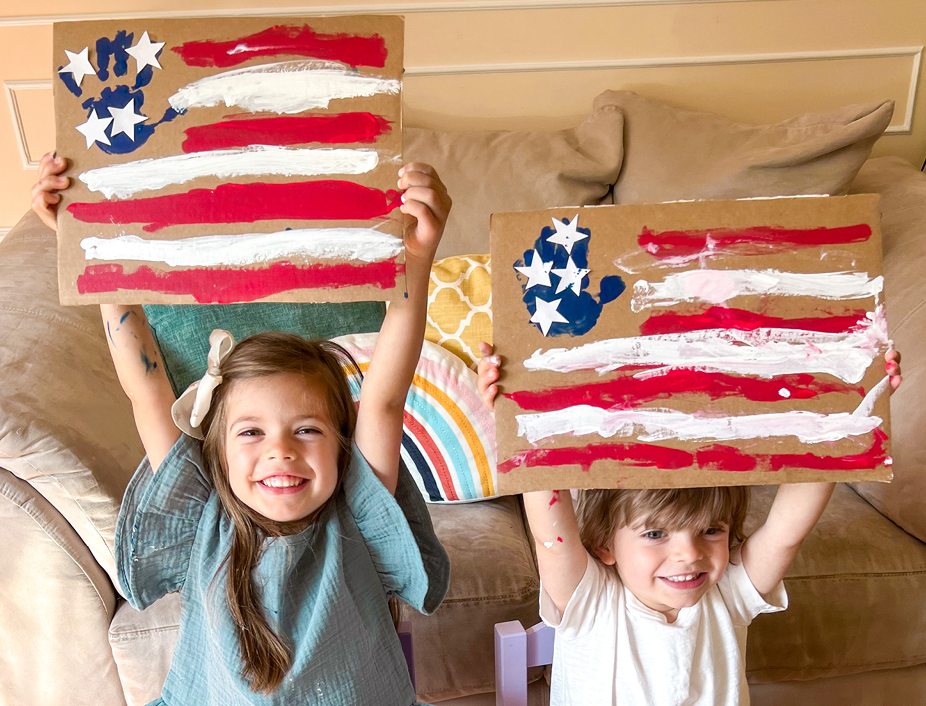
Did you know that Flag Day is June 14th? While it’s not as big of a holiday as July 4th, it’s still a special day in our history which honors the American flag. The perfect craft to celebrate is this DIY flag that gives you a chance to teach the proud history of our flag’s evolution while they express themselves.
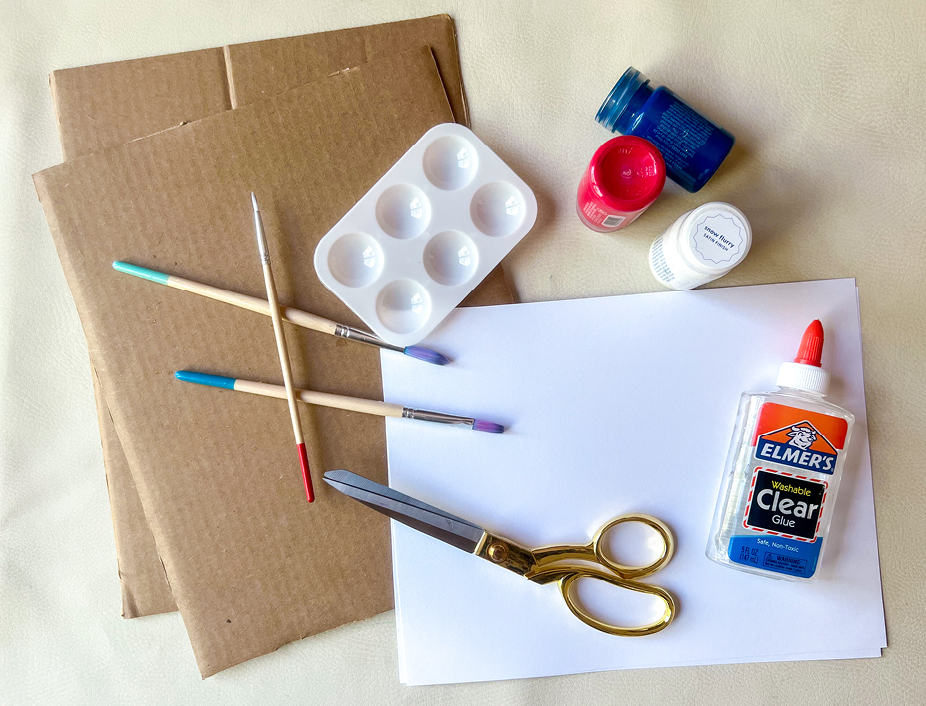
Supplies:
- Cardboard (any size around 8.5 x11 or slightly bigger works great)
- White Paper (8.5 x 11)
- Red, White, and Blue Paint
- Paint Brushes
- Pallette
- Scissors (adult assistance)
- Glue
- Pencil
STEP 1:
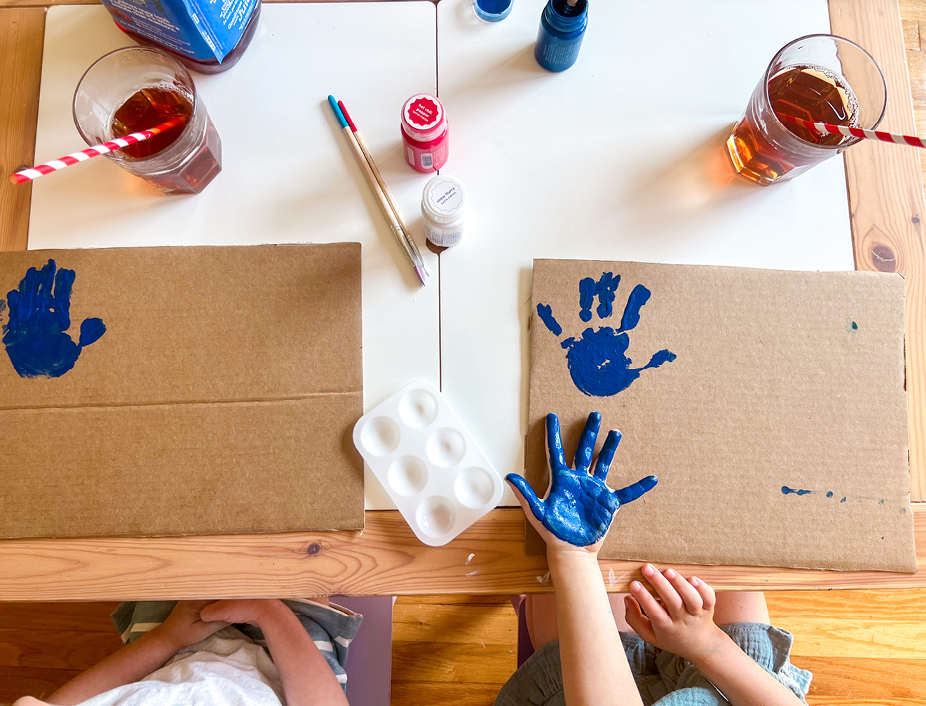
Using the blue paint, gently coat your child’s palm and fingers with enough paint to transfer to the cardboard. Help your child firmly press the painted side of their palm to the upper left corner of the cardboard to create a personalized section of the flag that’s uniquely them.
If your child has sensory aversions to having paint on their hands, give them the brush and let them paint your palm instead. How often do kids get to paint on adults? Never. How fun!
STEP 2:
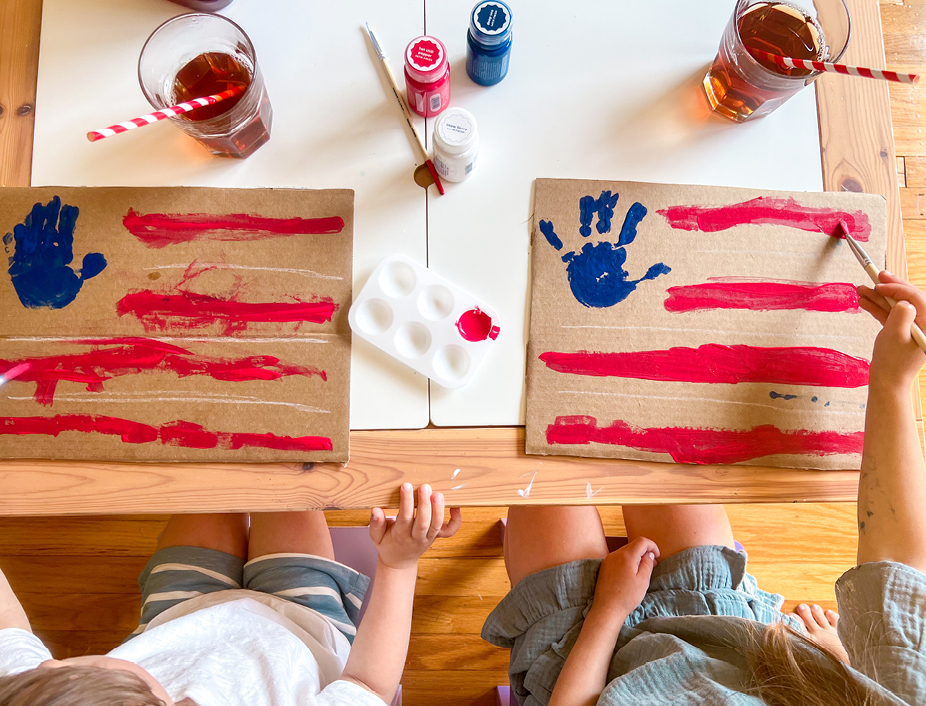
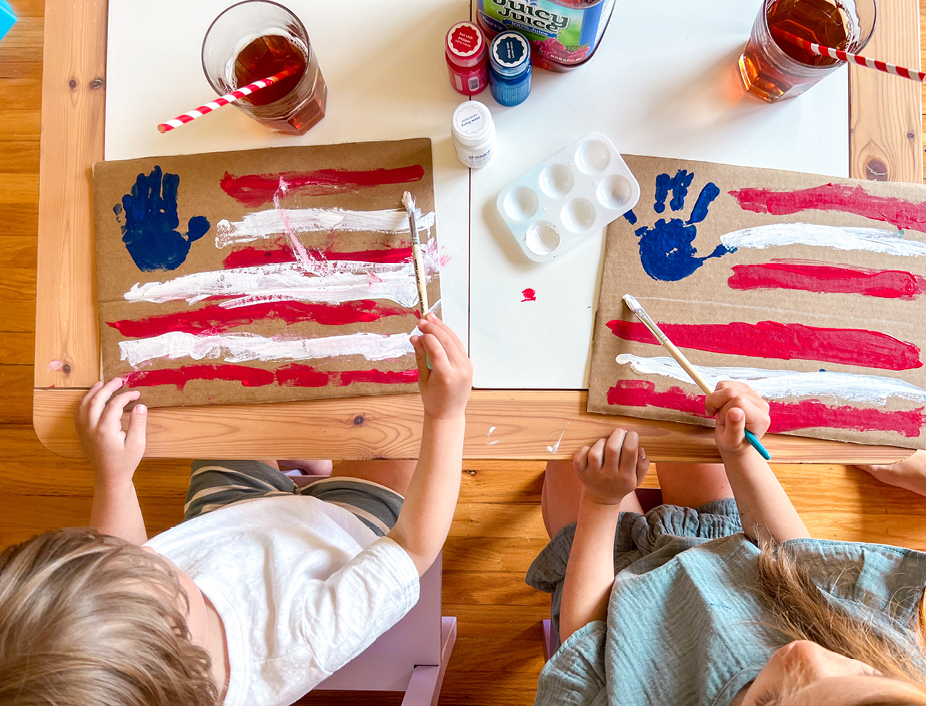
Gotta wash off that paint before moving on to this next step. Ready? Okay. Let’s get started on the stripes. Using the red and white paints, stroke on alternating stripes. If your child likes cleaner lines, you can use masking tape to create edges. Lay down the tape, paint, and peel off.
STEP 3:
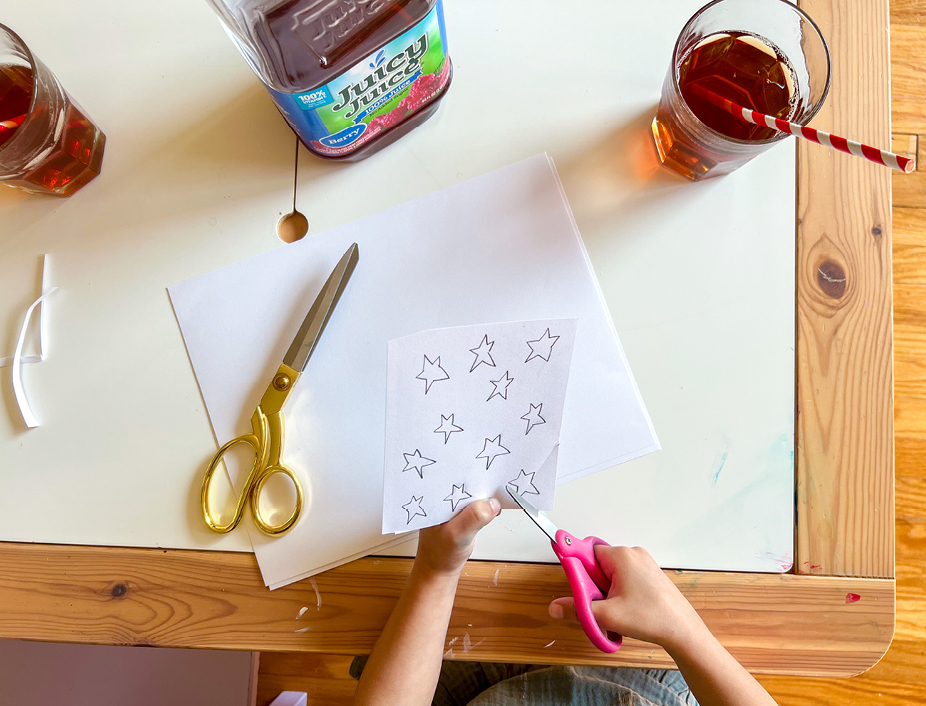
Time for a Juicy Juice break while the paint dries! While the kids are enjoying a refreshing sip, cut out some stars on white paper. You or the little ones can draw the stars first if you need guidance.
STEP 4:
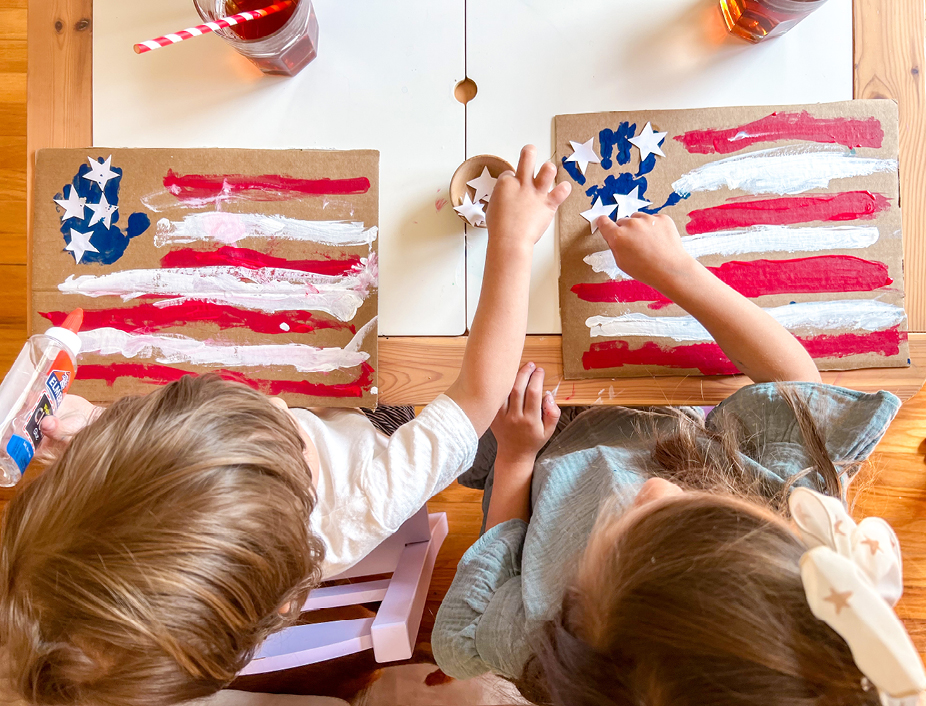
When the paint is dry, it’s time to get sticky. Dab a little bit of glue to one side of the stars and place them over the blue-painted area. If they want more stars, go for it! Let their artistic flag fly.
We can’t wait to see what you and your loved ones create. Post a pic for us and tag @juicyjuiceusa!
