Bunny Plate Pals

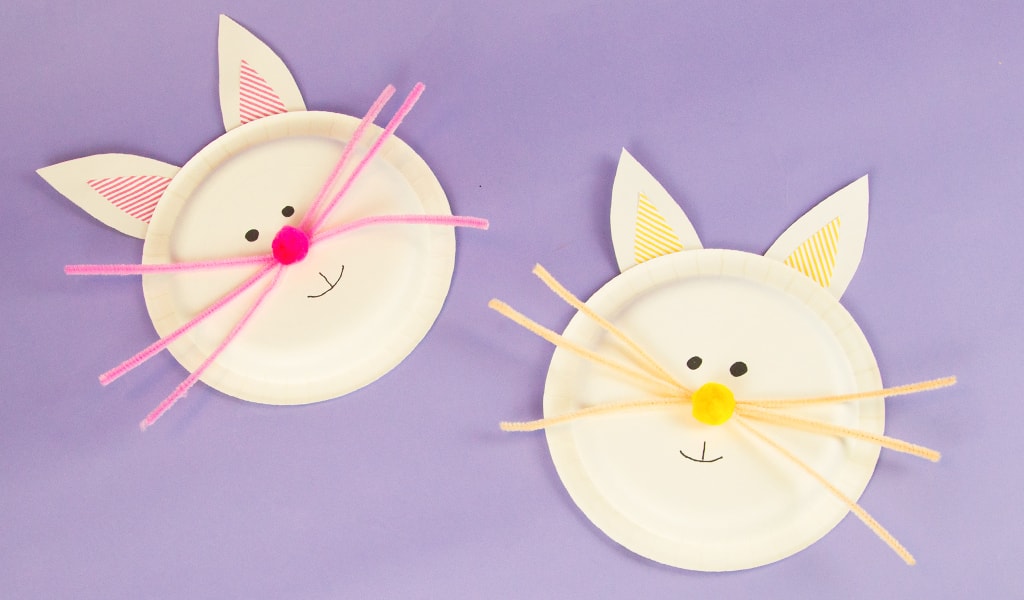
If you’re looking for a hopping good time with your little ones, we have the perfect craft for you! With just a few materials, which you may already have at home, you can jump right in. Once you’ve finished, they make a delightful spring decoration for the fridge. If you have any other ideas for your creations, we’re all ears!
Materials:
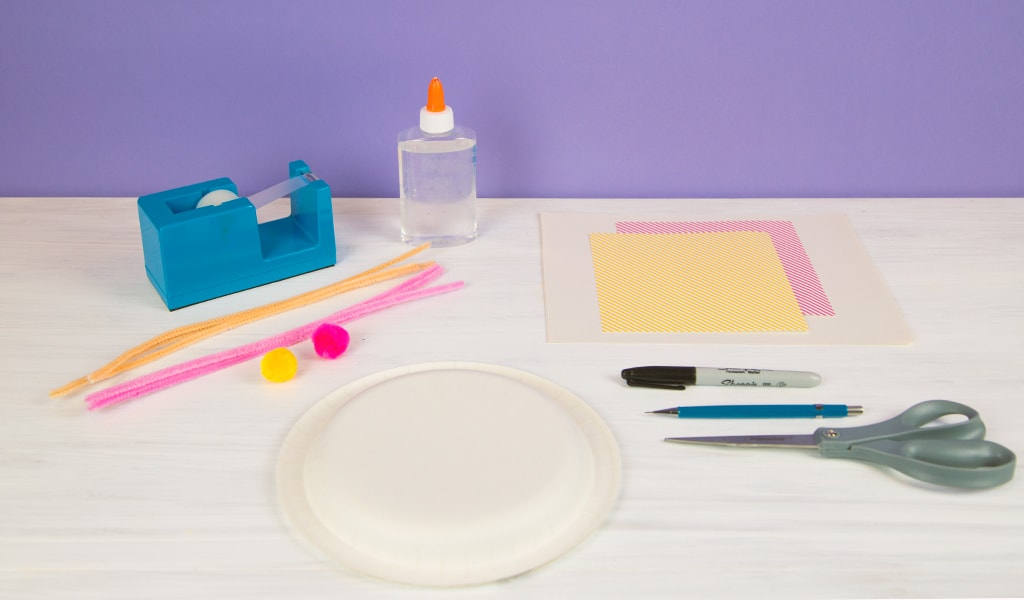
- Paper plates
- Tape
- Glue
- Black marker
- Colorful pipe cleaners
- Colored cotton balls
- White construction paper
- Striped construction paper (you can use solid colored construction paper too)
Step 1:
Gather your materials.
Step 2:
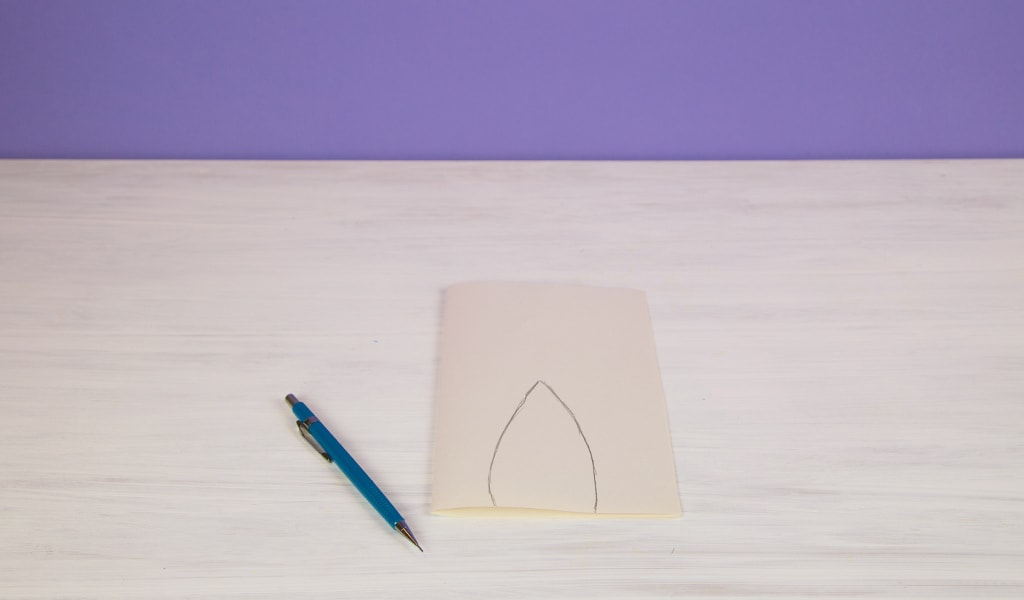
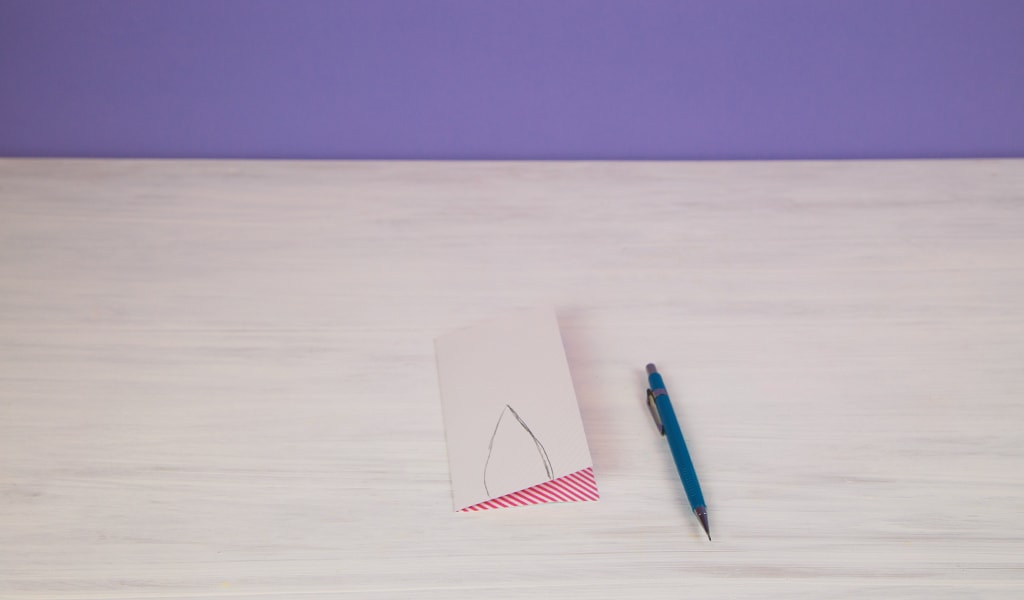
Begin by folding your sheet of white construction paper in half from left to right. Next, draw the outline of one bunny ear on the bottom of your page.
Step 3:
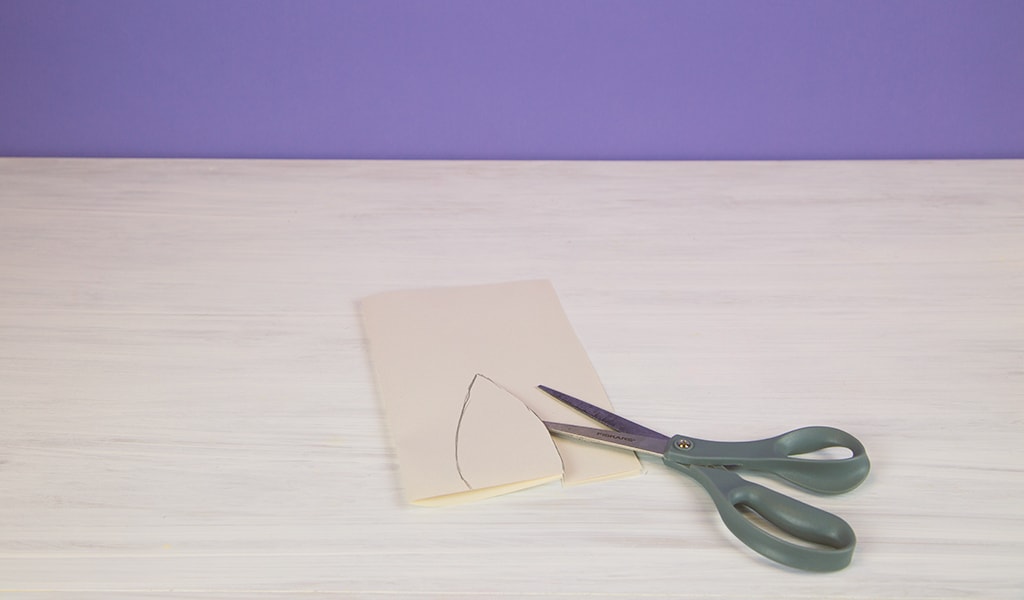
Cut your folded paper along the lines you drew to create two identical rabbit ears.
Step 4:
Now, fold your striped paper with the striped side facing inwards. Then, draw a smaller version of the rabbit ear you drew in step 2 along the folded paper’s bottom edge. Now, cut the folded paper along that line to create two identical pieces.
Step 5:
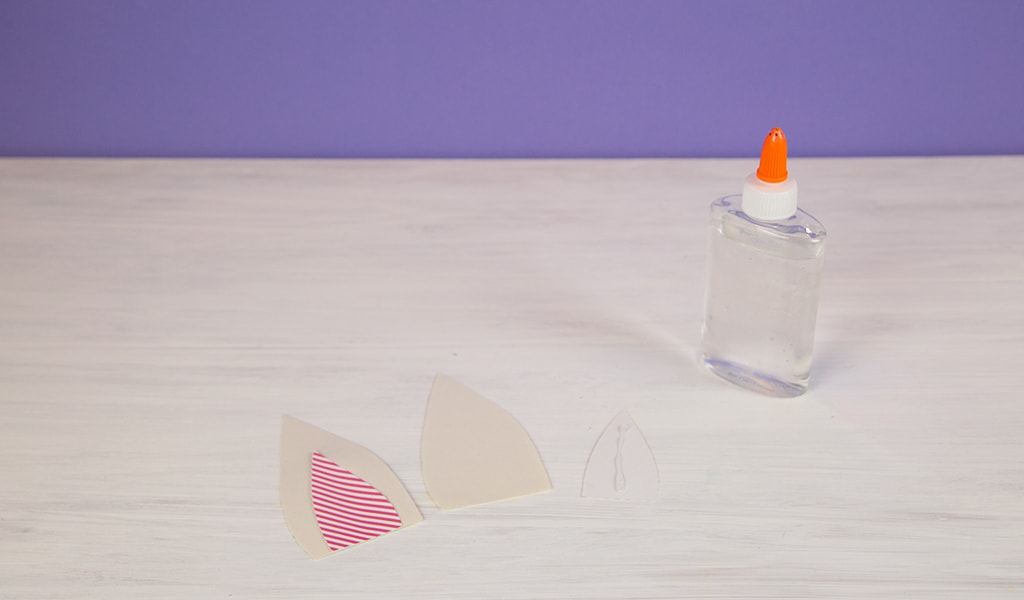
Put a line of glue along the backside of the pieces you cut out in step 4, and paste each of the smaller striped shapes inside the larger white shapes you created in step 3 to form a completed rabbit ear. Repeat for both pieces so that you have two finished ears.
Step 6:
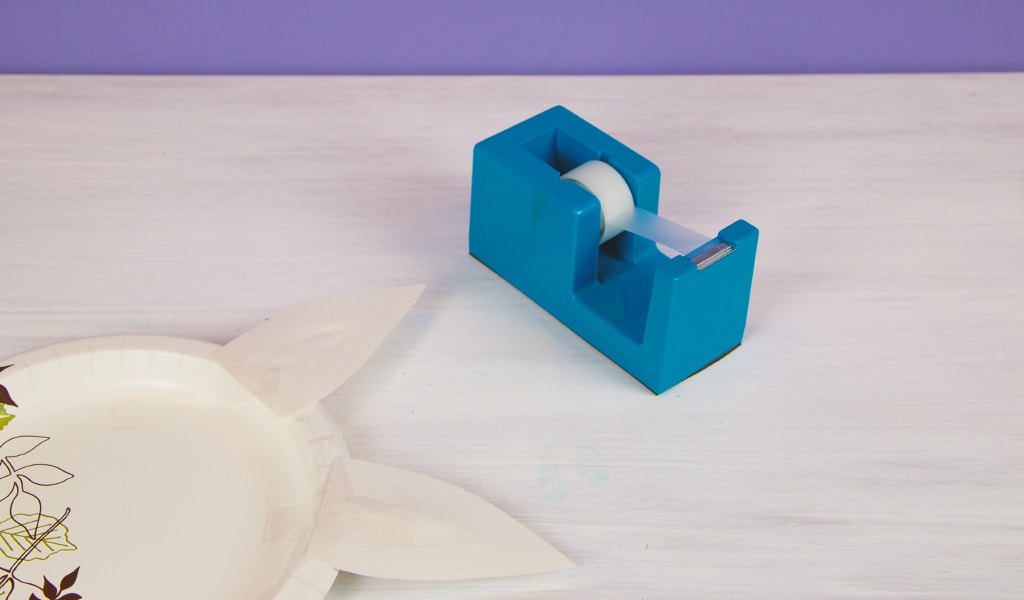
Tape your rabbit ears design-side down onto the top of your paper plate.
Step 7:
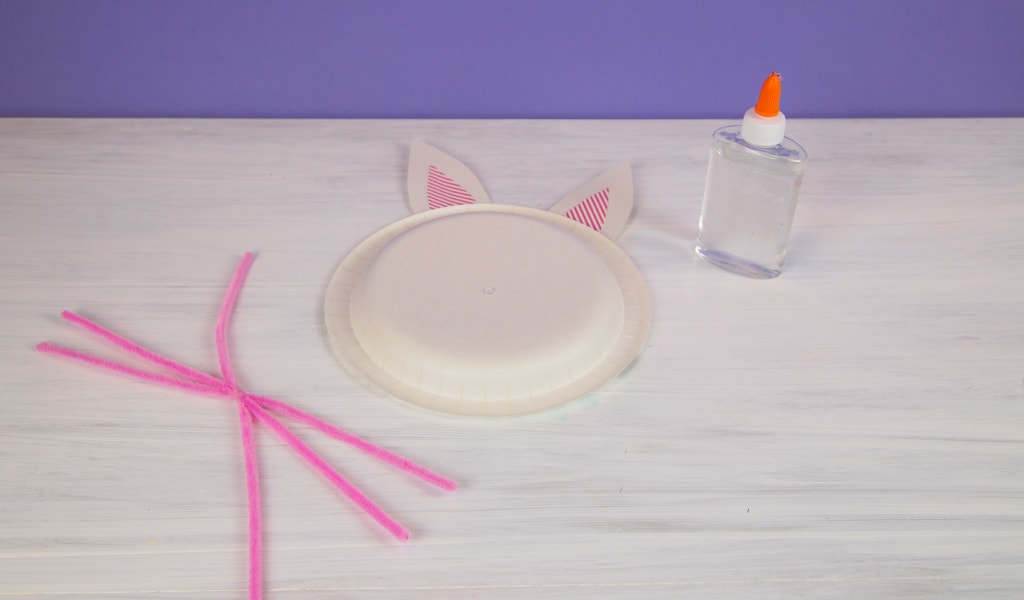
Now take three of your pipe cleaners and twist them together in the center (see image below) to create your rabbit’s whiskers. You may need to separate the pipe cleaners after twisting.
Step 8:
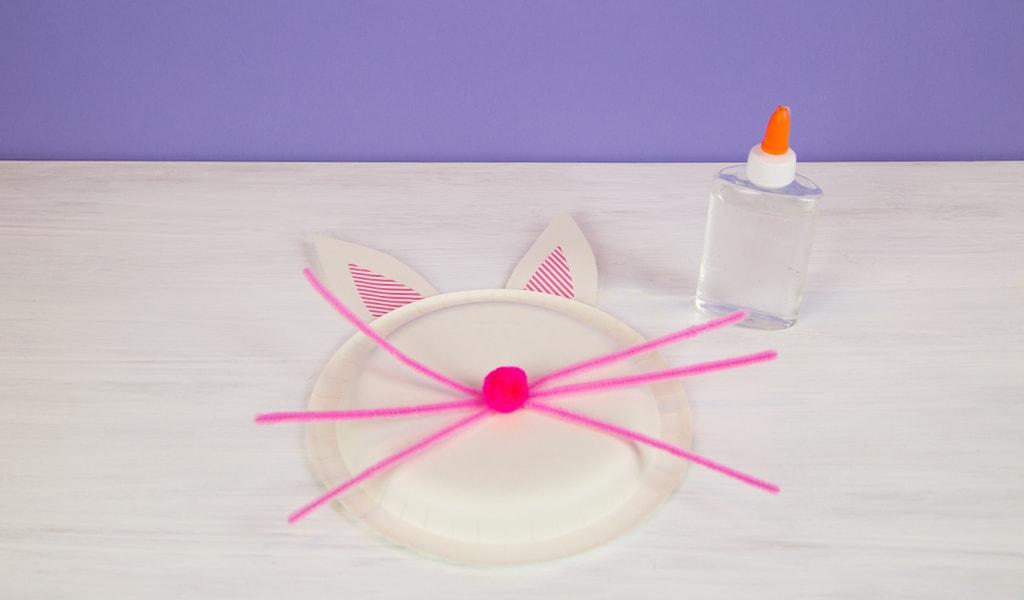
Glue your whiskers onto the center of your rabbit’s face, then glue a colored cotton ball on top to create its nose.
Step 9:
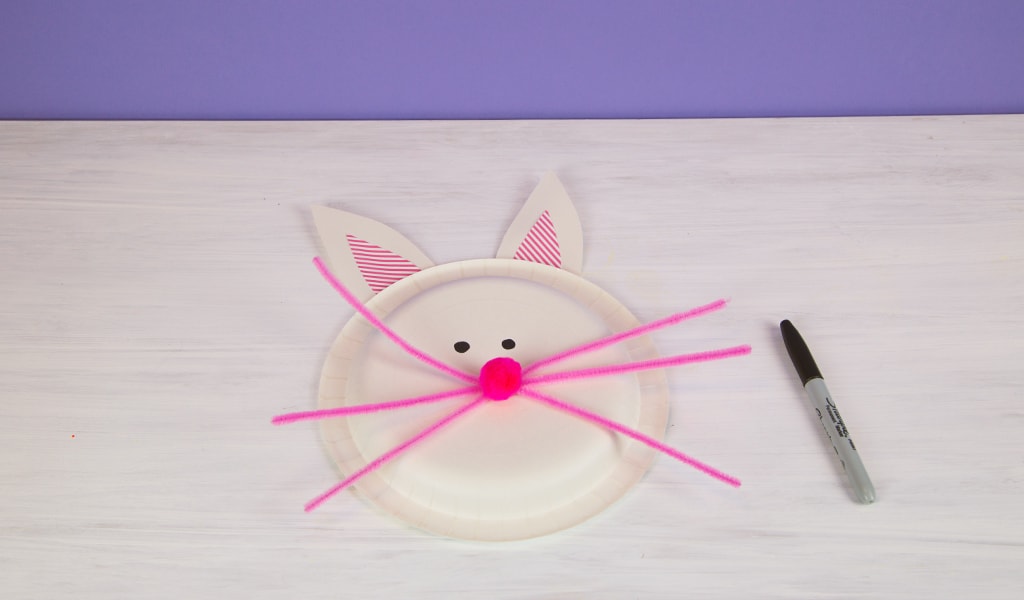
Use your marker to put two big dots above your rabbit’s nose for eyes.
Step 10:
Use your marker to draw a small curved line and a small straight line to create the bunny’s mouth and now you have your completed bunny plate!

