Juicy Juice DIY Marshmallow Holder

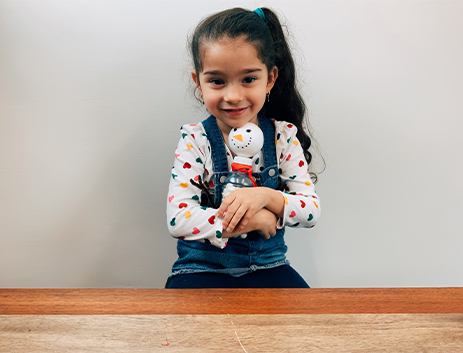
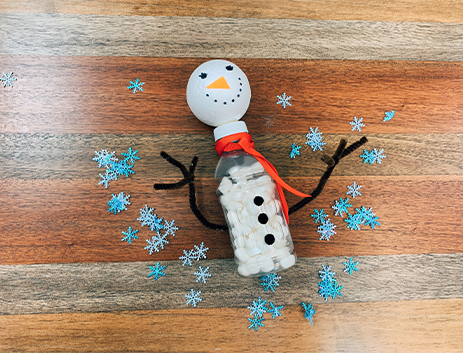
The winter is the best time for you and your little one to curl up at home with a mug of hot cocoa. And what is everyone’s favorite addition to hot cocoa but marshmallows? This easy to make, fun to decorate snowman lets you bring some of the winter fun indoors and keep the marshmallows close at hand for a quick cup of cocoa.
Materials:
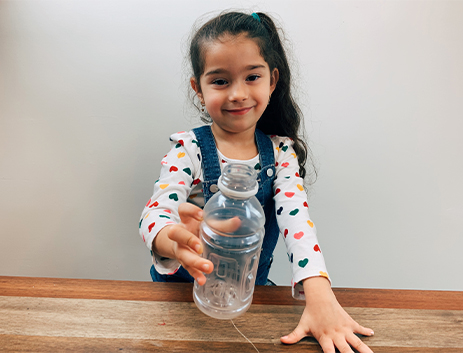
- Empty Juicy Juice bottle (we recommend the 10 oz Juicy Juice 100% Juice bottles)
- Permanent Black marker
- 4” Styrofoam ball
- Felt and pipe cleaners, 2 full size and cut one in half to make the hands (black or brown is recommended, but don’t be afraid to get creative with your colors)
- Red ribbon
- 3 Pom-poms
- Hot glue and glue gun (to be used under parental supervision)
*(NOTE: Hot glue works best to attach the arms and buttons to plastic, if you’re uncomfortable with using hot glue or don’t have any on hand, you can use child safe glue) - Scissors

Before You Start:
Make sure your bottle is completely dry and the label is off.
Step 1:
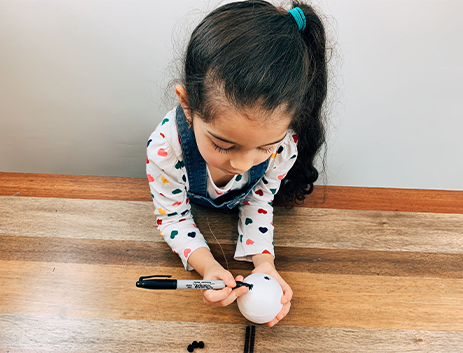
Using your black marker or colored pencils, draw a face on the Styrofoam ball. Then cut a small felt triangle and glue it in the center for the carrot nose. Let your little one express their creativity with the snowman’s face, it’s their snowman after all!
Step 2:
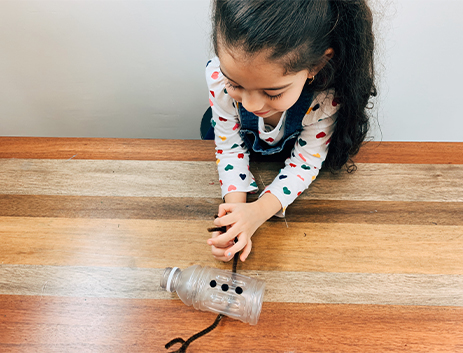
Now onto your snowman’s body, grab your pom-poms for the buttons. Hot glue is best to make sure the buttons stay on, but hot glue guns should only be used by adults. Child safe glue and glue dots are also safe alternatives. Whichever you decide to use, make sure to give enough time to dry completely.

Step 3:
Now, take your 2 pipe cleaners and cut one in half for the hands. Take the full pipe cleaner and attach the middle to the bottle with the hot glue gun, then take the one that is cut in half and wrap them once around about 2 inches to the end of the longer pipe cleaner on each side to make the hands (these should look similar to forks). Just like the buttons, help your little one by hot gluing it to the back of the snowman and gently bending the arms forward.
If you used hot glue for your snowman’s arms and buttons, put your snowman to the side for a minute to let the glue dry.
Step 4:
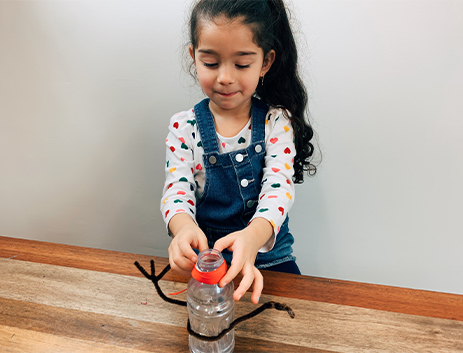
Now it’s time for your snowman’s scarf! Cut a strip of ribbon long enough to tie around the bottle’s neck with a little to fold over and hang down.
Be safe and help your little one by using the scissors to cut.
Step 5:
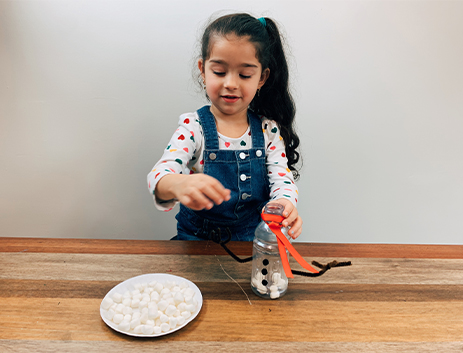
Before you attach your head, fill the bottle with mini marshmallows. Once you’ve done this, glue your Styrofoam ball to the bottle cap and gently reattach the bottle cap. Just as before, make sure you give your snowman’s head time to dry.
Step 6:
Congratulations! You and your little one have made the perfect winter marshmallow holder. Now make some hot cocoa and enjoy all these delicious marshmallows!
