DIY Gratitude Box
Looking for a fun way to connect your kids to the true meaning of Thanksgiving? This handmade gratitude box is a great way to get your little ones to think about what they are grateful for this season. The box also makes a wonderful centerpiece and a meaningful gift to make at any age.
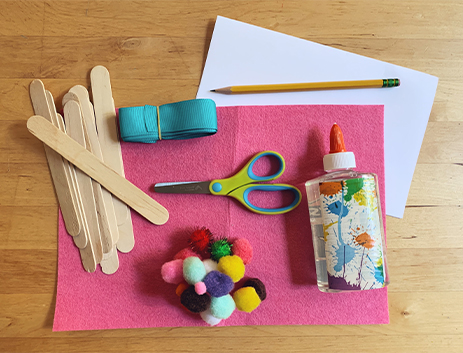
Materials:
- Approximately 60 wood craft sticks or more if you would like a taller box
- Liquid glue
- Kid-size scissors
- Ribbon, any color you choose, approximately 4 inches are needed
- Felt, any color you choose
- Pom poms, various colors
- Paper, about the size of a sticky note + pencil
Step 1:
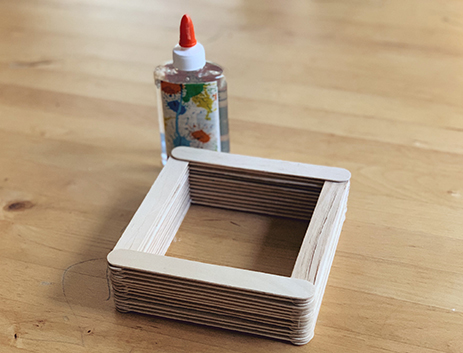
For the base of the box, glue 4 wood craft sticks together at the ends to form a square frame.

Step 2:
Continue to repeat Step 1 to add height to the box. Then, apply dots of glue at each corner of each box level to add layers to the desired box height. We recommend doing 12 layers.
Step 3:
On the last layer, glue down craft sticks side by side all the way across. This will actually be the bottom of the craft once the glue is dry and you flip the box over.
Step 4:
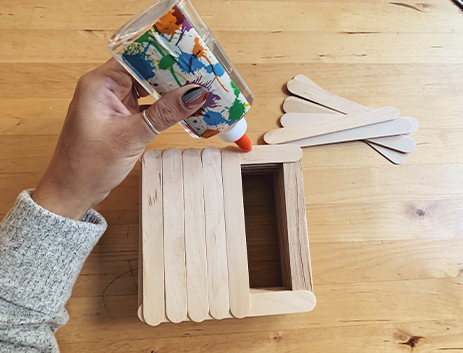
To make the cover for the box, start the same way as you did in Step 1. Glue four sticks in a square frame. Then glue down craft sticks side by side all the way across the frame. Let it dry completely.

Step 5:
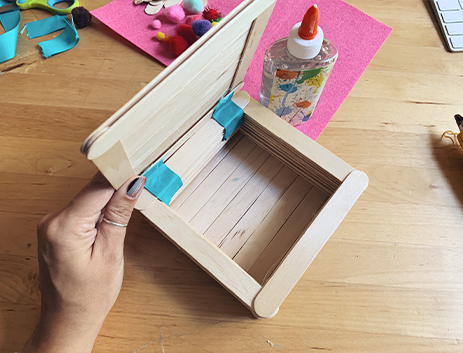
Cut two small strips of ribbon about 2-inches long. Glue the ribbon to connect the cover to the box like a hinge. Let the glue dry.
Step 6:
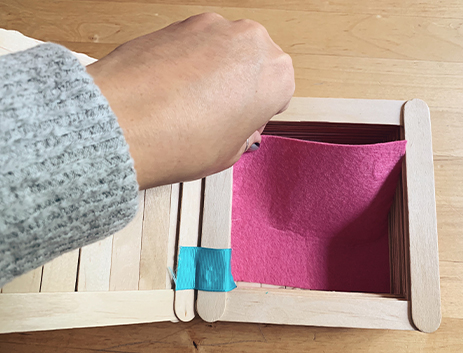
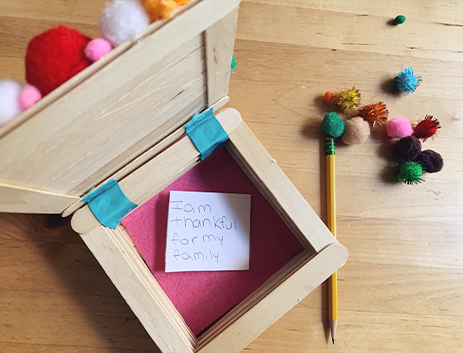
Cut a small square of felt to make the lining for the inside bottom of the box.
Step 7:
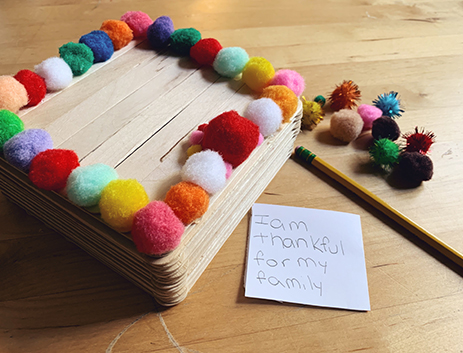
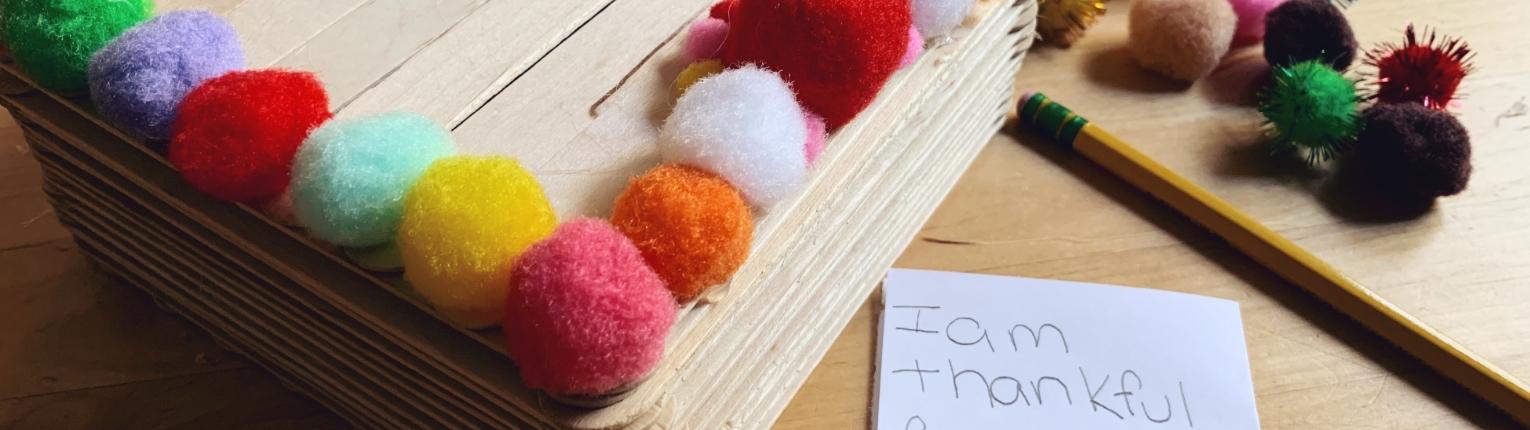
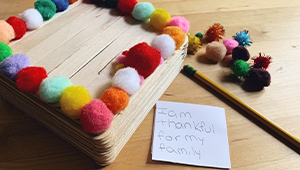
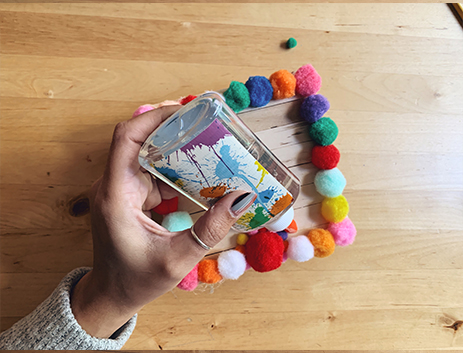
For a finishing touch, decorate the top of the box cover with pom poms.
Step 8:
In the weeks or days leading up to Thanksgiving, have your kiddo(s) and family members write down something they’re grateful for each day on a small piece of paper and put it in the box.
Step 9:
On Thanksgiving Day, place the box in the center of the table and read aloud what everyone is thankful for!