


Lunch Sack Kites
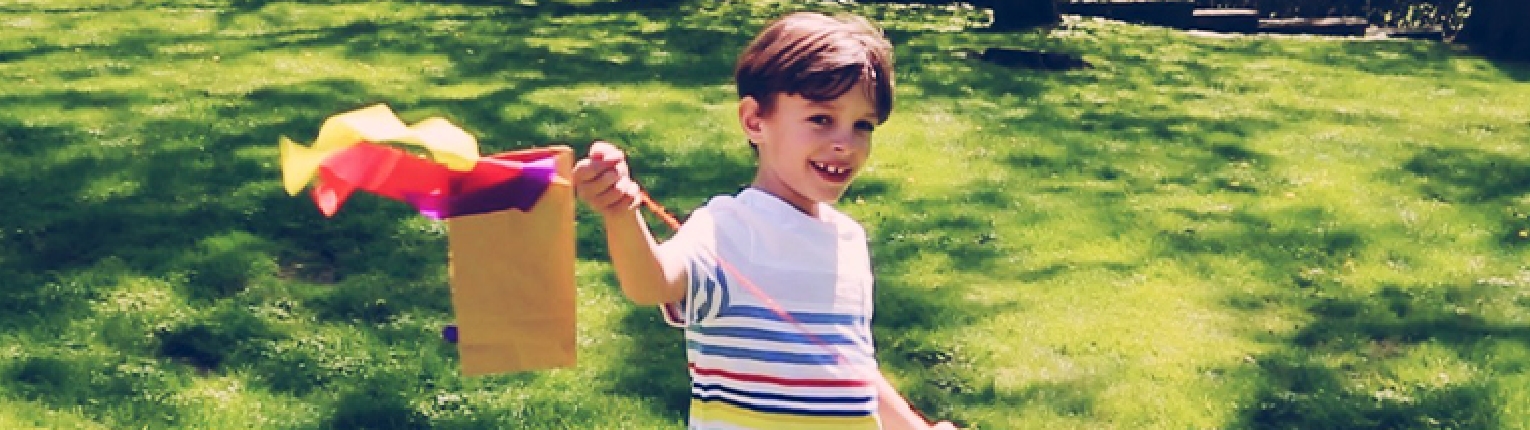
When the sun is up and the wind is blowing, few things in childhood compare to the joys of running through the yard with a kite flying in the breeze behind you. While most kids have used the classic plastic designs from the store, we’ve found the experience is even more special when they get to make their own. Best of all, it’s easy to do with materials that you might already have on hand!

Materials:
- Crayons
- Stickers
- Crepe paper (use different colors for more fun)
- A few feet of string
- Glue
- A lunch sack
- A popsicle stick
- Scissors
Step 1.
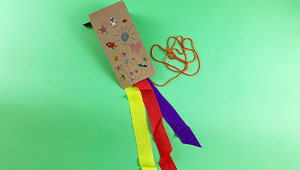
First things first, let your little ones decorate their kite (lunch sack) with a design of their very own using crayons and stickers! To add a little extra pizzazz, tear off foot long sections of crepe paper and then glue them onto the mouth of the bag to form a tail.

Step 2.
Cut a small hole in the bottom of your lunch sack. Try to keep the hole just big enough for a piece of string to fit through.

Step 3.
Tie one end of your string around the center of a popsicle stick.

Step 4.
To finish your kite, feed your length of string through the hole you created in step 2 and out the mouth of your lunch sack. The popsicle stick should catch on the bottom of the bag to hold the string in place. Now your kite is ready to head outside and take flight!

