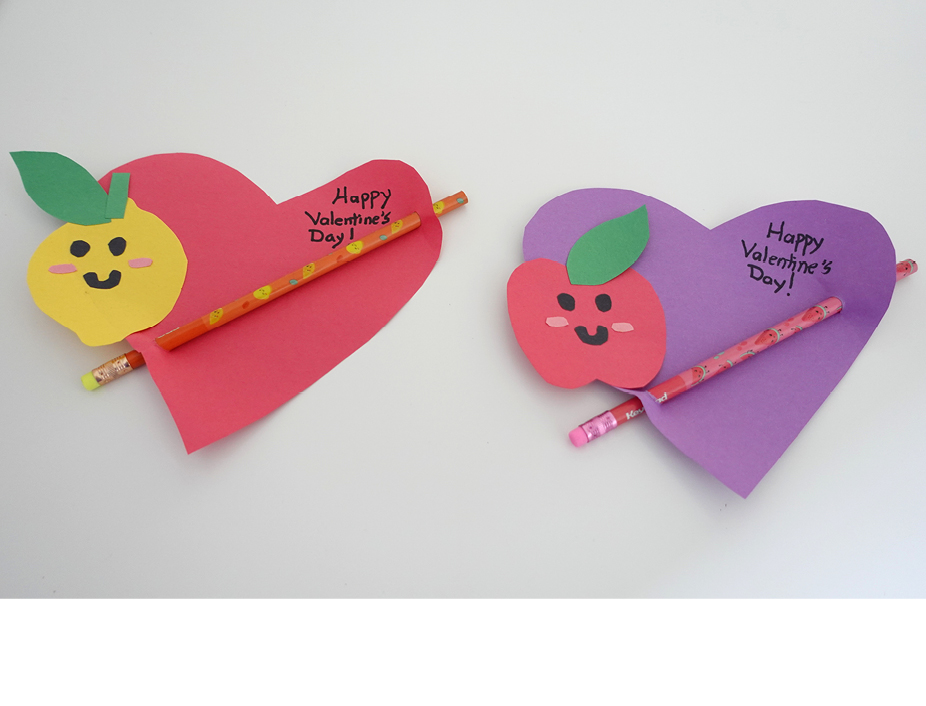
Valentine’s Day Pencil Cards
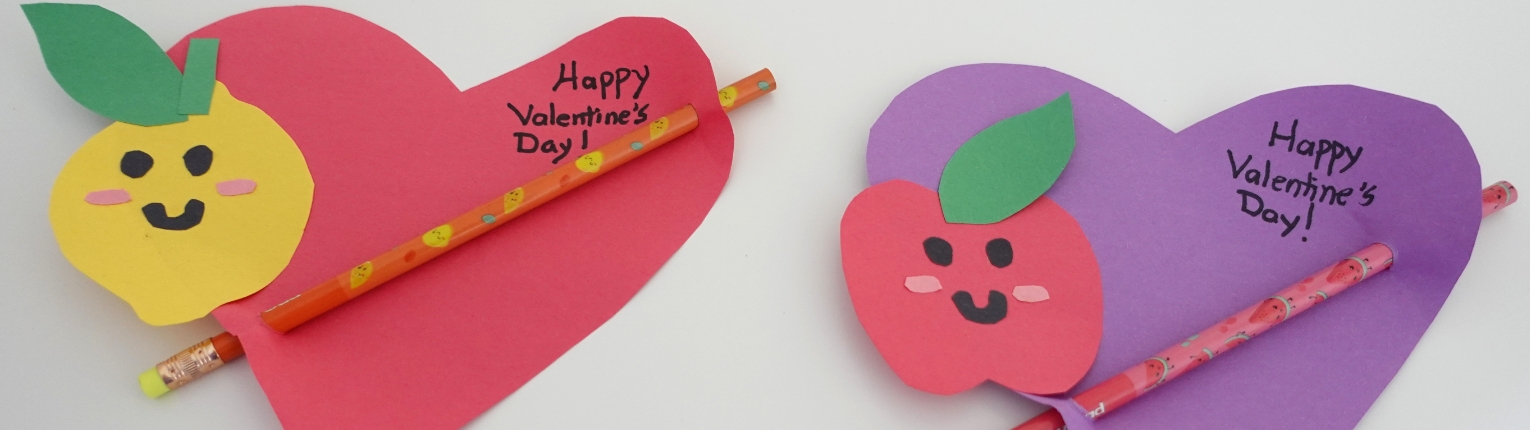
Help your little ones show their classmates some love with our cute Valentine’s Day Pencil Cards.
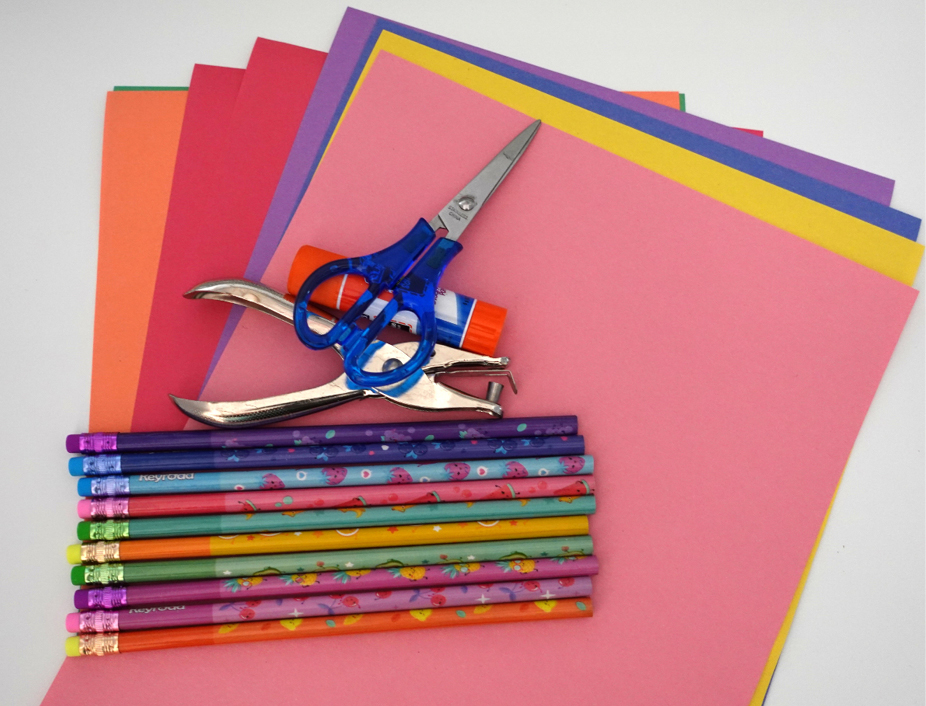
Supplies:
- Colorful construction paper, 8.5″ x11″
- Scissors (Adult assistance)
- Glue stick
- One-hole puncher (Adult assistance)
- Black marker
- Fruit-themed pencils
- Measuring cup (Optional)
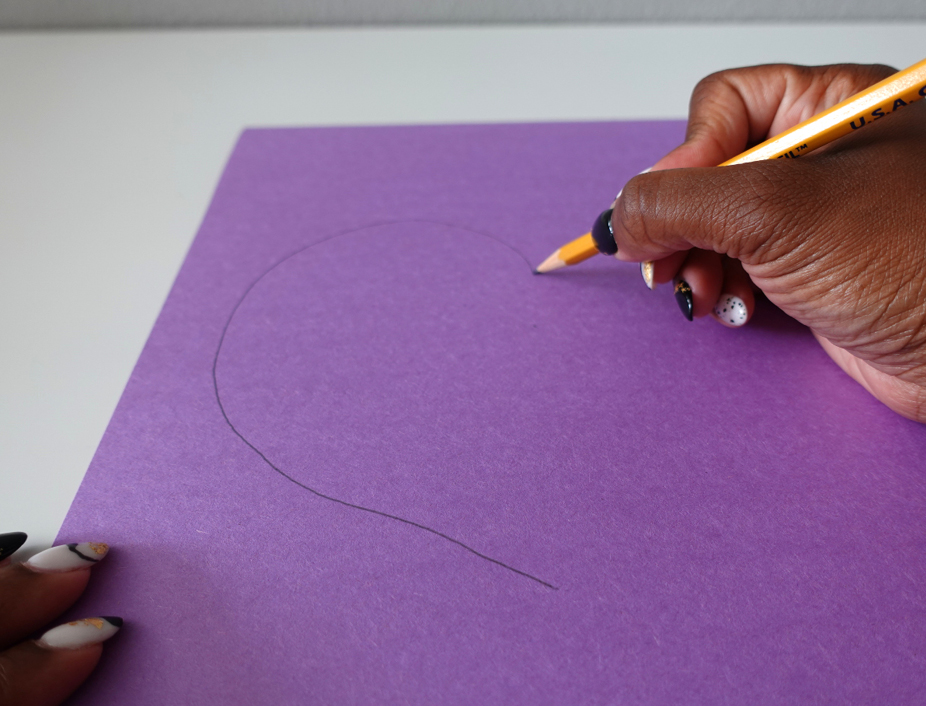
STEP 1:
First up, draw a heart on a piece of construction paper. It doesn’t have to be perfect, but it should be large enough to allow for writing a note and attaching the smiley face fruit (see step 4).
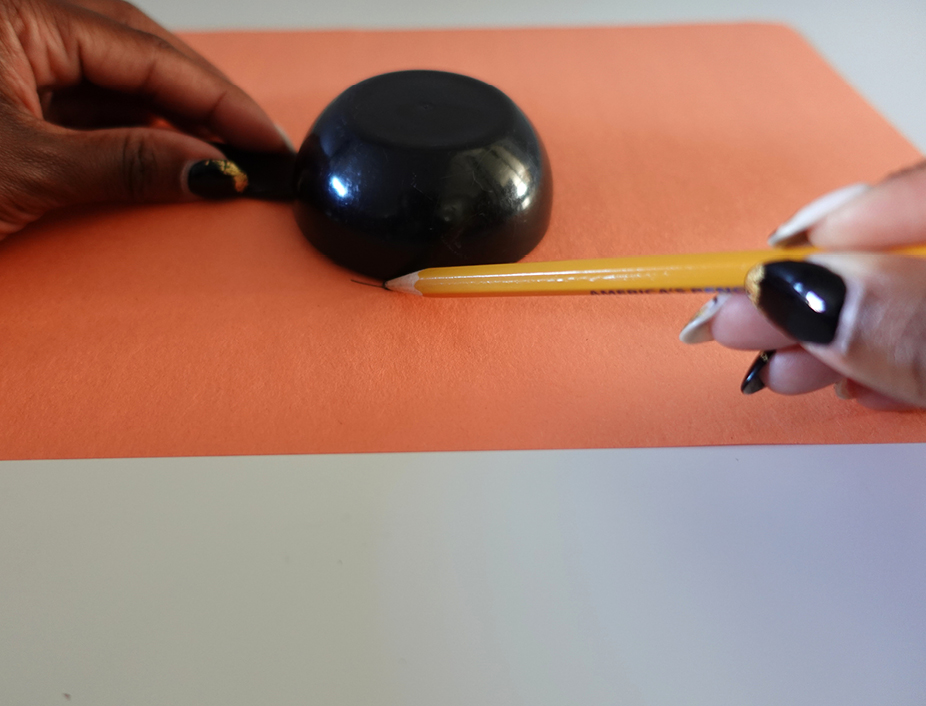
Next, take a different color paper and draw a small circle, make sure it’s smaller than the heart you just traced. You can use a rim of a measuring cup (½ a cup or a cup in size) to help get the right diameter).
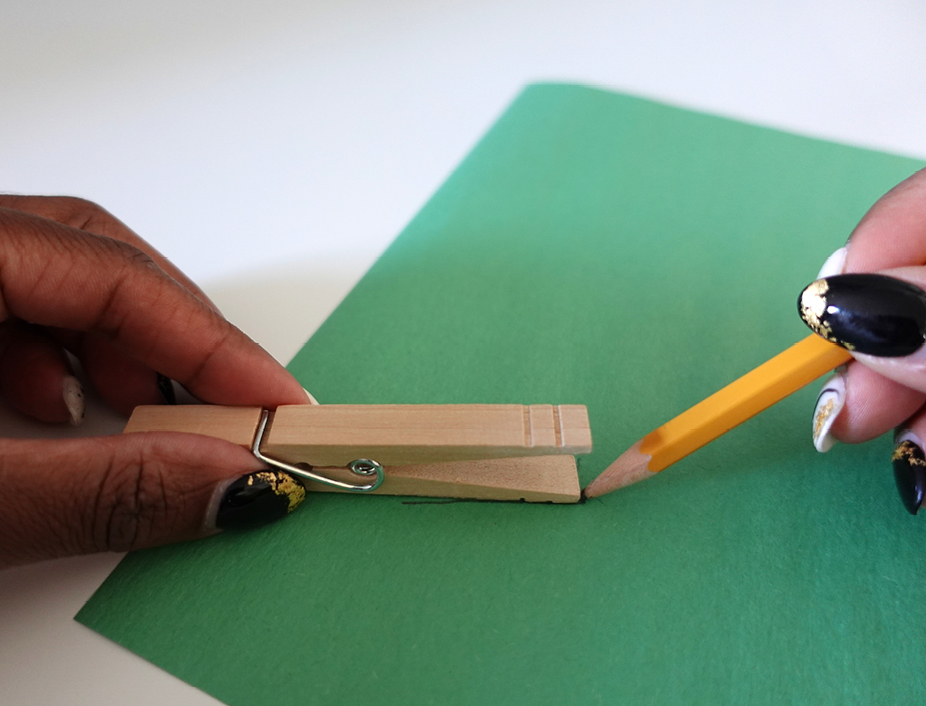
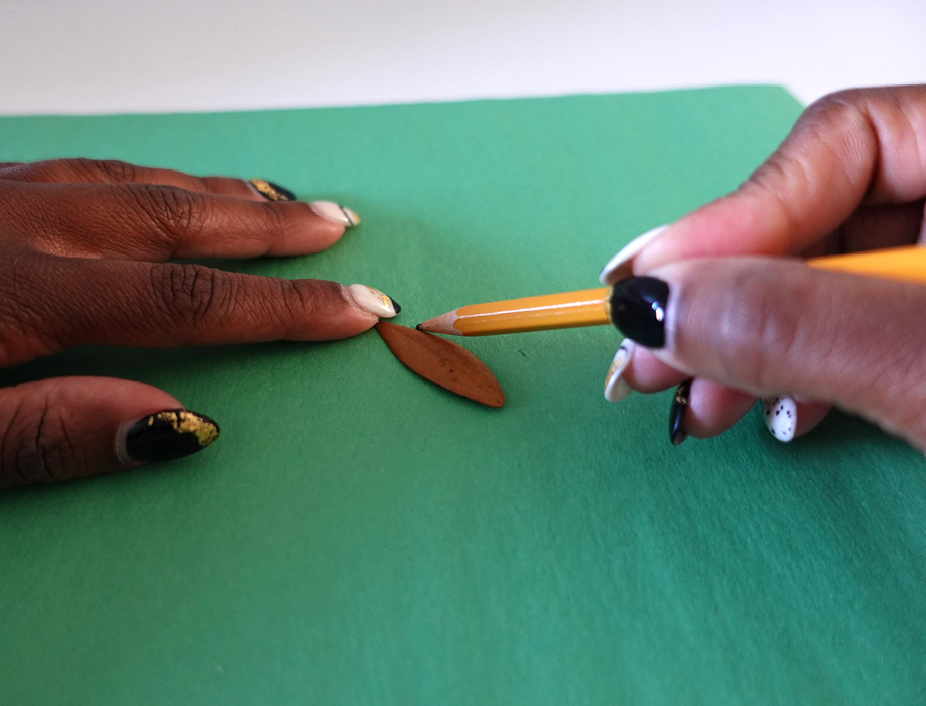
Finally, take a piece of green paper and trace a marquise or leaf-shape and a narrow rectangle (these will be your fruit’s stem and leaf). You can use a clothespin to get the straight, narrow lines of the stem and a real leaf for your paper leaf.
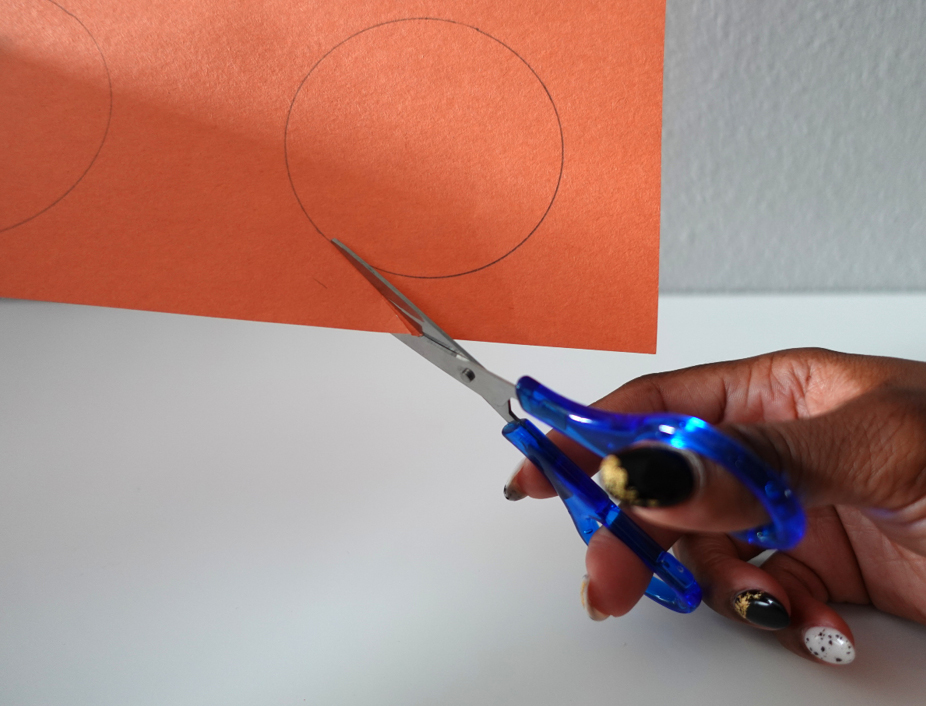
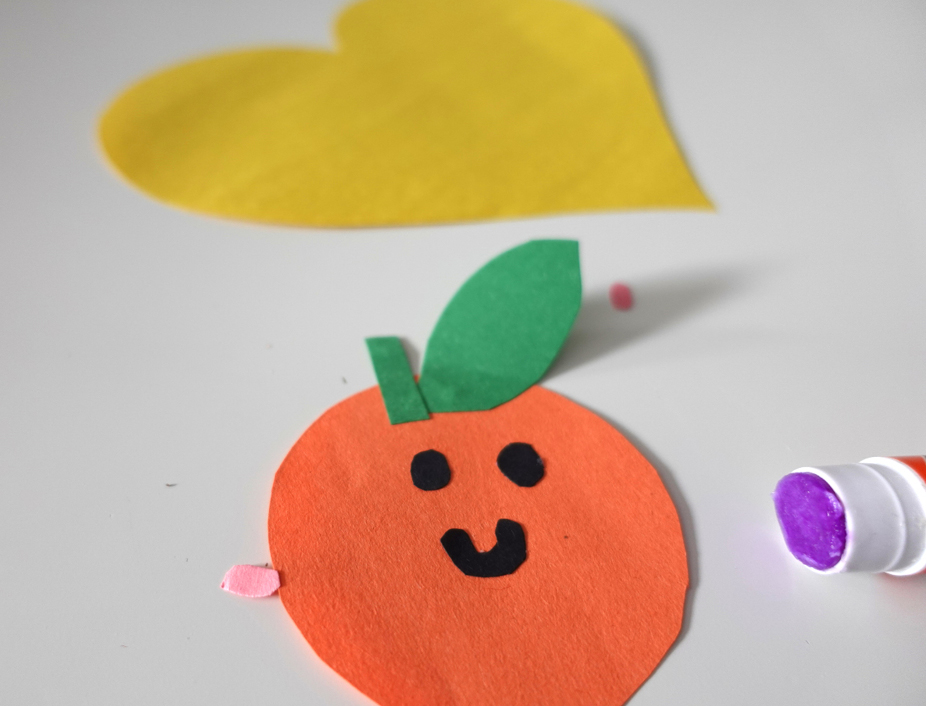
STEP 2:
Once that’s all traced, an adult should carefully cut out all of the traced shapes. Once this is done, you’re ready for the fruit’s smiley face! Take a black or dark colored marker and draw a smiley face, then take a pink or red marker and draw two circles for blushing cheeks next to your smiley face. If you don’t want to use markers, you can use black and pink construction paper and cut out a smiley face and pink cheeks instead of coloring those in.
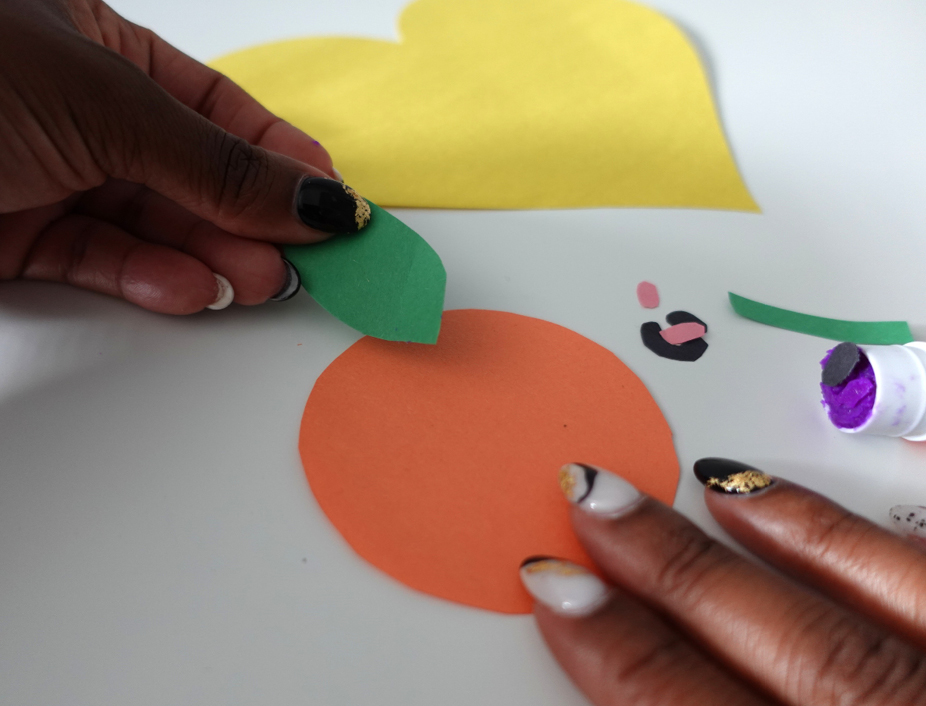
STEP 3:
Now, take all the little pieces you cut out and use your glue stick to attach the green stem and leaf onto your small circle.
STEP 4:
Make sure the glue has dried on your leaf before taking your glue stick and gluing the right side of your smiley face fruit to the left side of the heart you cut out (as shown in the image of step 5).
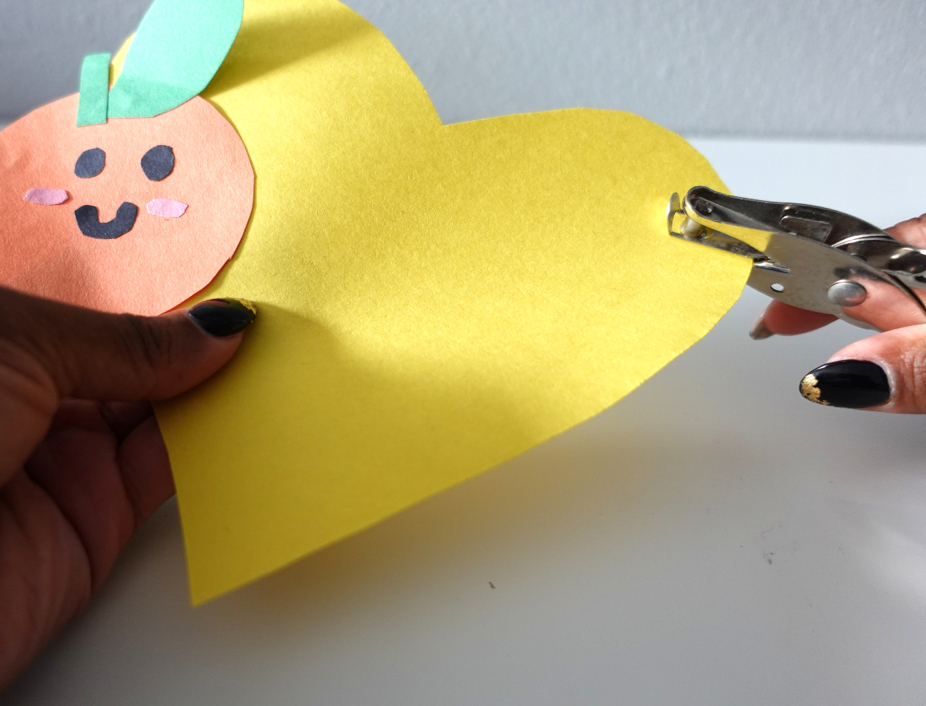
STEP 5:
Once the paper fruit’s glue has dried, take your hole puncher and make a hole in the top right corner of your heart.
Then, make a corresponding hole in the opposite corner, caddy corner from your first. If you need help, put a pencil through this first hole and note where the pencil’s point lands to find the opposite (see images under step 6).
STEP 6:
Now, all that’s left is having your child write a sweet Valentine’s Day message! Don’t forget to make sure they write the name of the recipient and their name on the heart. Then slide the pencil through your two holes. Repeat these steps for as many cards as you wish!