DIY Pie Garland
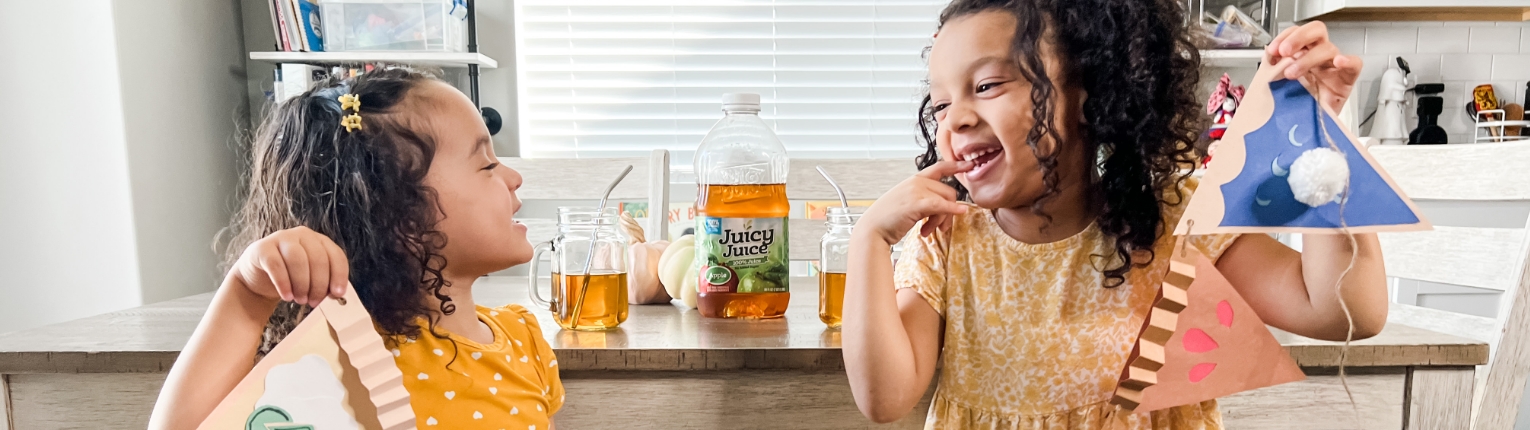

We only have PIES for you – really! If you’re looking for a fun, kid-friendly activity that creates beautifully festive decor that can be hung around the house, then you’ve got to try this DIY Pie Garland craft!
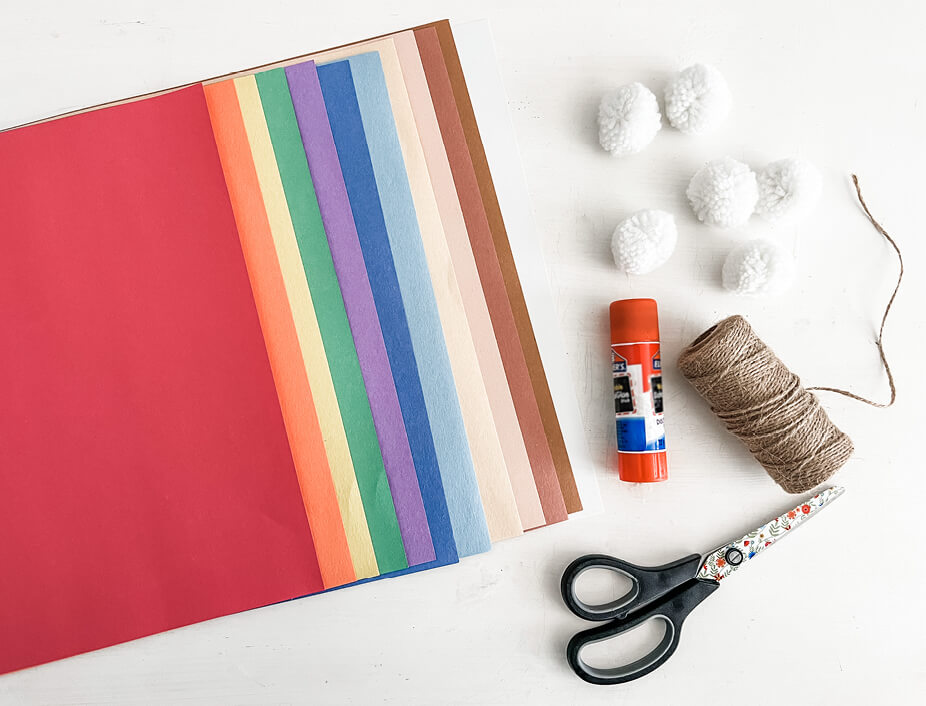
Supplies:
- Colorful Construction Paper (8.5×11)
- White Pom Poms
- Scissors (Adults Assistance)
- Glue Stick
- String
- Hole Punch
STEP 1:
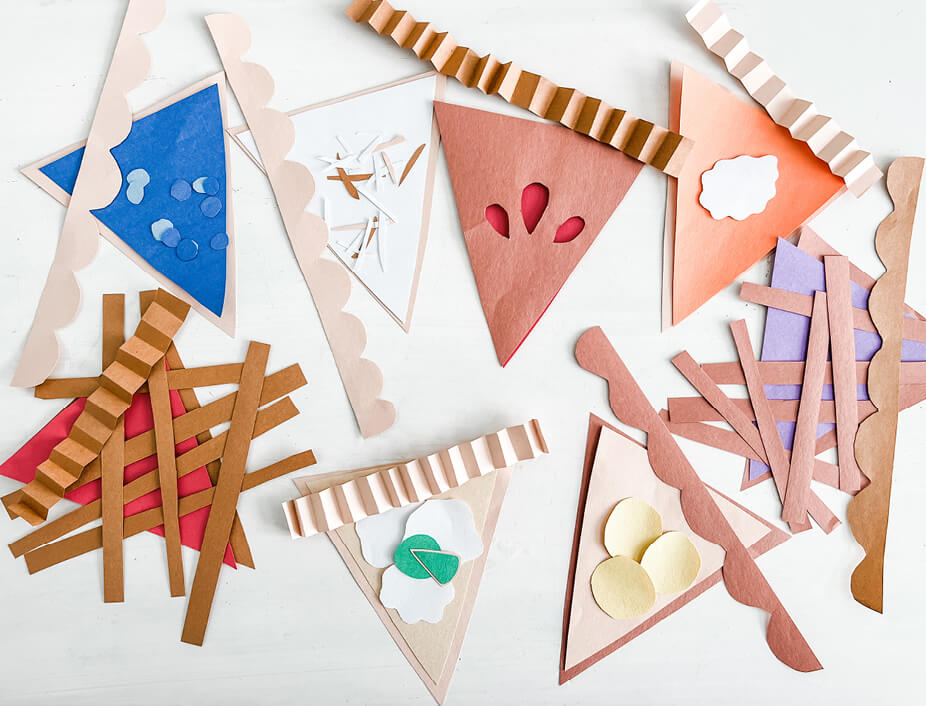
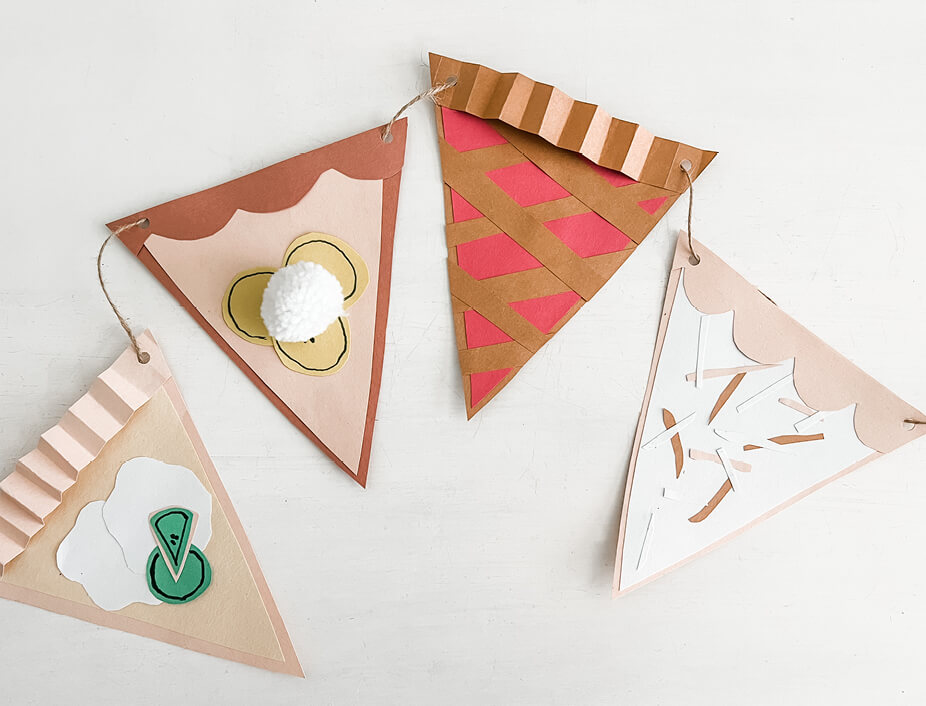
The first step is to decide on the kinds of pies you’d like to make – up to 8 different flavors total. In this example we make pumpkin, banana, blueberry, coconut, berry, sweet potato, apple, and key lime, but you’re welcome to pick any flavor pie you like!
Once you’ve decided on your pies – it’s time to get cutting! Adults, have your littles pick out different colors of construction paper for each kind of pie you’ve decided to make. This is a great time to practice our knowledge of colors!
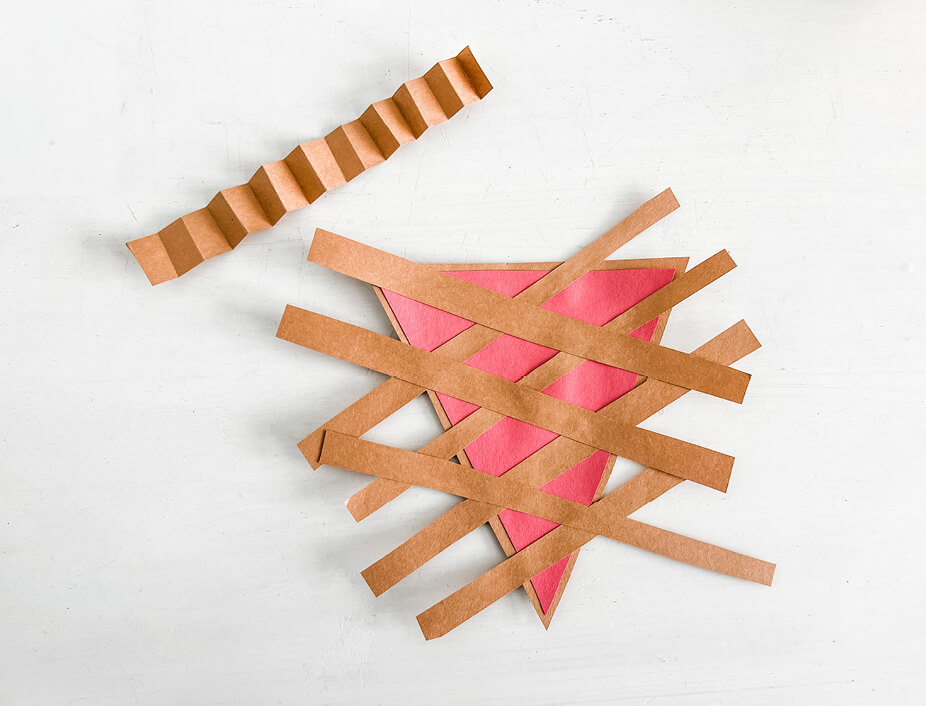
Use scissors to cut out a variety of strips for the crust-edge and lattice topper (which is just the strips that you layer on the main part of the pie). Then cut out the triangular-shaped pie crust and pie flavoring. Lastly, go ahead and cut out any fruit topping shapes you’d like to add.
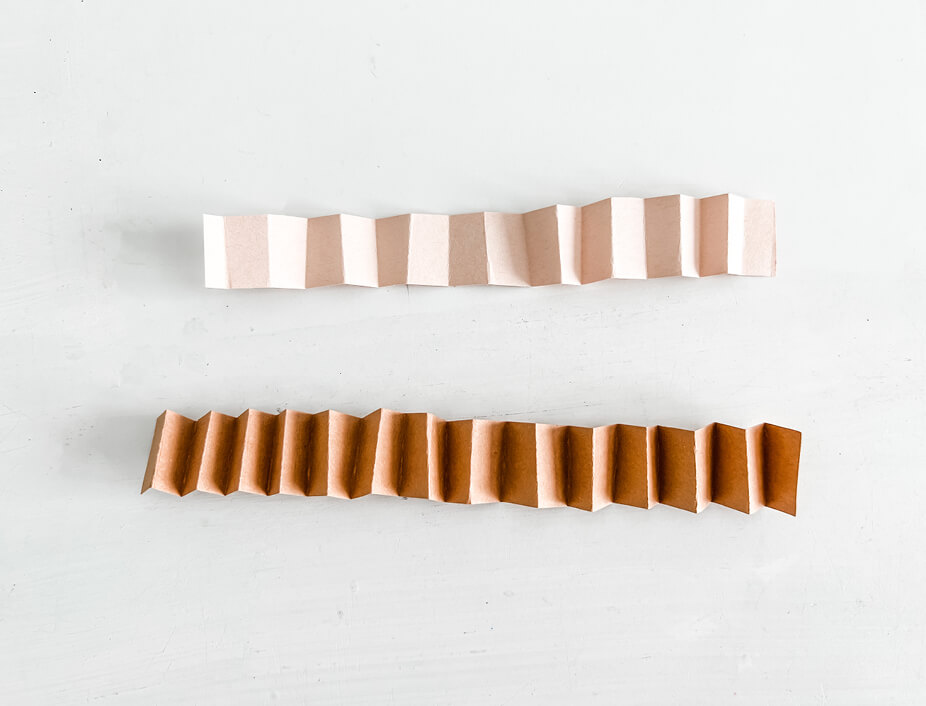
Tip: Simple flat strips work for the crust edge but adding little “m” shapes to one side or folding the crust edge strips to create ruffles, can add a lot of dimension to your pie!
STEP 2:
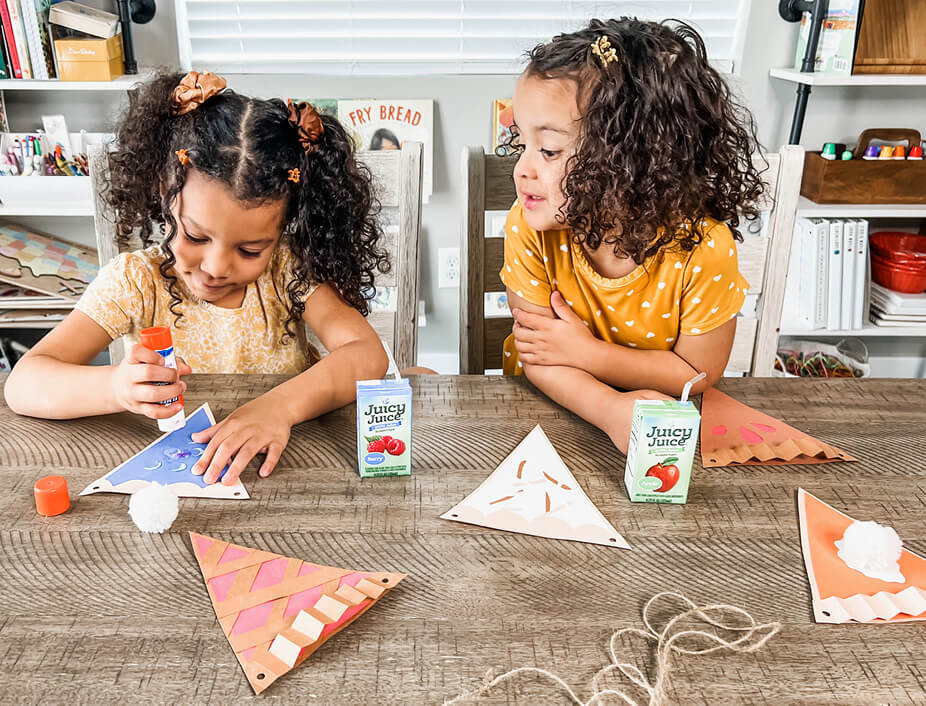
Gather your pie pieces together and get gluing! If your little one is old enough to use the glue stick on their own then this part can be fun to do together! Once you’ve built each pie, decorate the top with lattice toppers, fruit toppings, and/or the white pom poms for whipped cream! Yum! Then lay aside to dry.
STEP 3:
Now that your pies are decorated and looking oh so scrumptious, let’s get ready to string them up so we can display them!
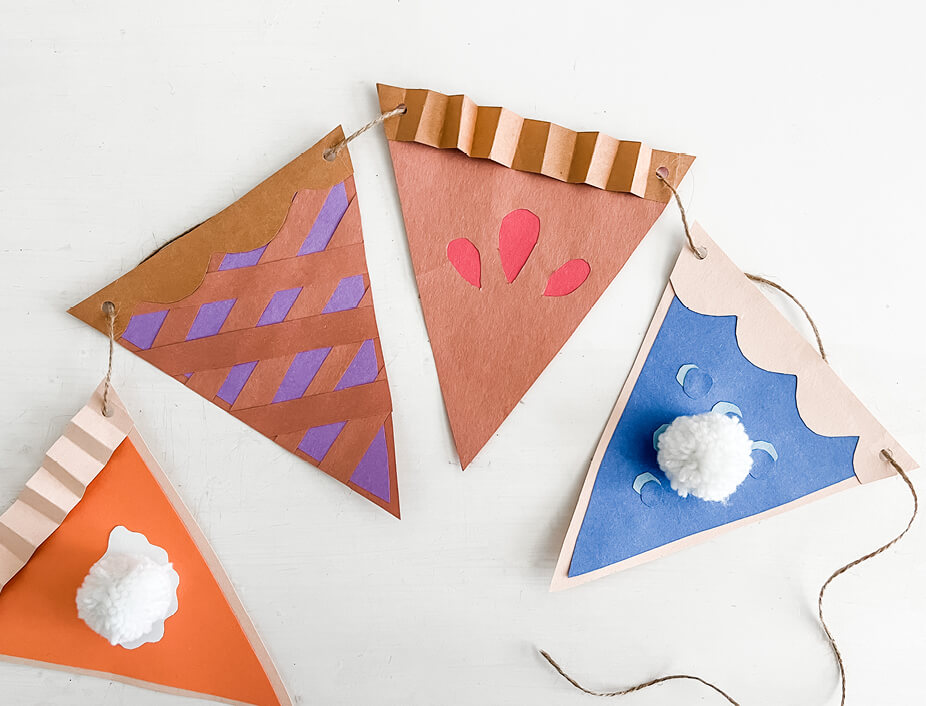
Use your hole punch to make a hole on the left and right side of the crust edge of each pie. Line up your pies in the order you’d like them and then weave your string into the left edge hole, around the back of the pie, and out the right edge hole.
Tip: Leave enough room (about two fingers width) between each pie piece so they aren’t crowding each other and make sure you have about one foot of extra string on each end for hanging purposes.
STEP 4:
You’re done and your DIY Pie Garland looks absolutely amazing! Now you can let your littles help you decide where to hang it in the house so it can be seen and adored by everyone who visits!